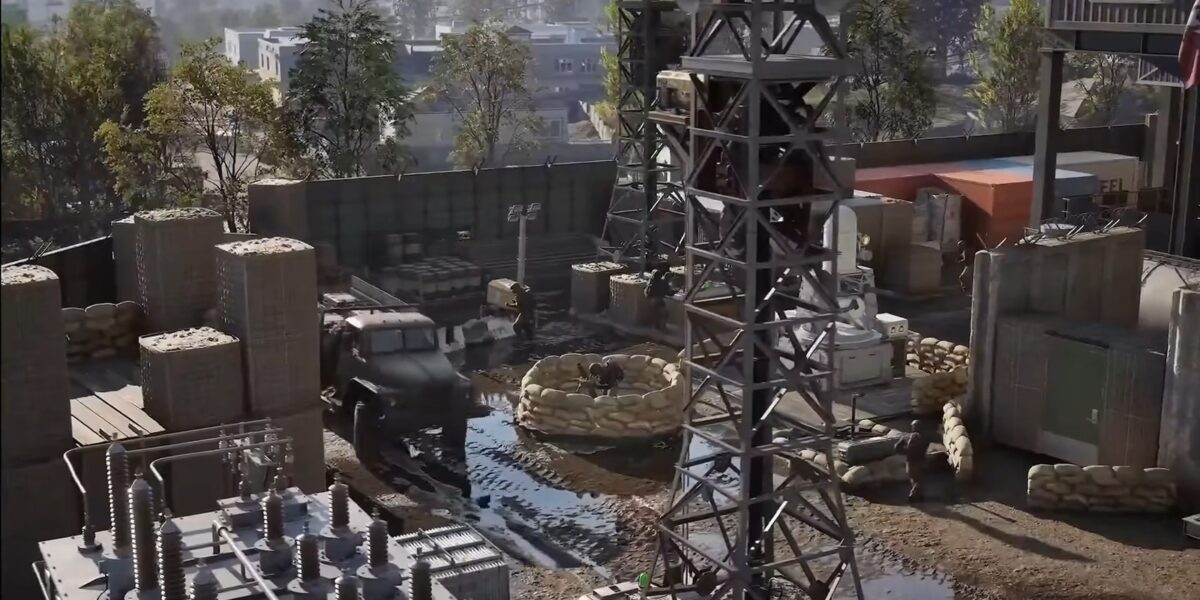
Wardogs players are getting a much-needed breakdown of one of the game’s most misunderstood mechanics: the FOB, or Forward Operating Base. Following the title’s monumental early access launch—when nearly 350,000 people logged in on release day—community members have turned to a fresh guide to clarify how these deployable structures work, why they matter beyond the in-game tutorial, and how to wield them to dominate the control zone. The confusion stems from the fact that while the tutorial covers the basics of acquiring a FOB, the deeper strategic value of the structure is easy to overlook when the heat of combat is pressing.
At its core, a FOB is a forward-deployable structure that can be placed anywhere on the playable map, with the sole exception of your team’s spawn base. Players cannot position a FOB if an opposing team’s FOB already occupies the surrounding area, which adds a layer of territorial tension to the deployment process. Once placed, the FOB’s area of effect becomes a fortified zone where your team can freely construct structures while enemy teams are locked out. This creates a controllable pocket of ground that can be leveraged for both offensive and defensive purposes throughout a match.
How to Acquire and Deploy a FOB
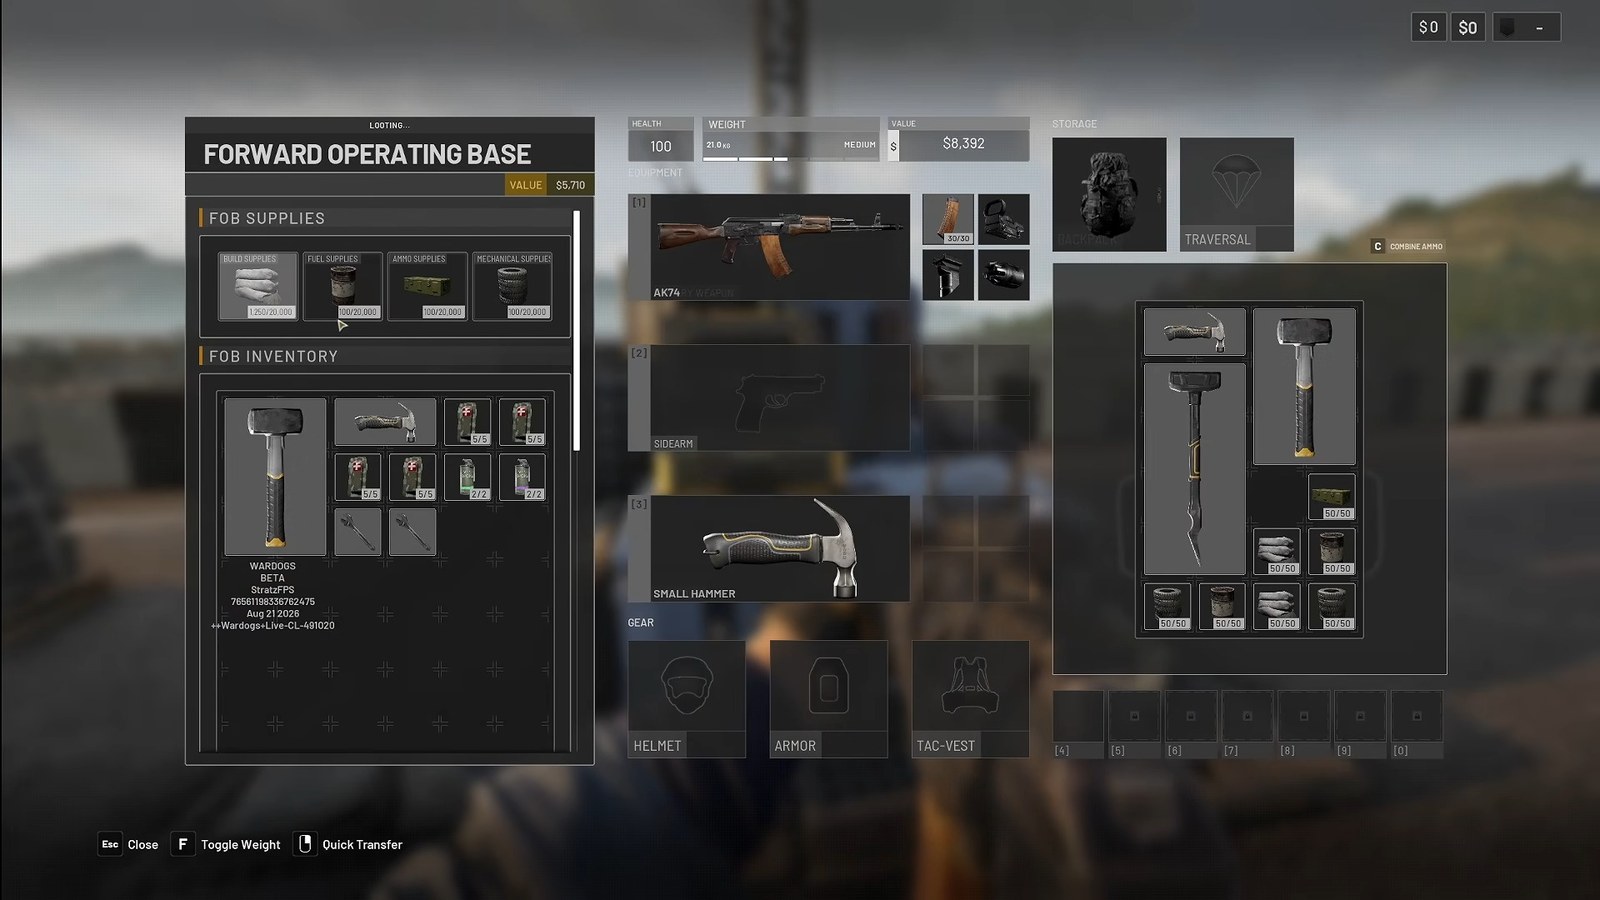
Obtaining a FOB requires purchasing it from an equipment vendor, and the item occupies a 2×3 slot in your backpack. Because it will not fit in the free starter backpack, players must invest in the upgraded version before they can field one. Once acquired and relocated to your desired position, deployment is straightforward: press the assigned hotkey and hold the left mouse button to place the structure. Each new FOB ships with a free small and medium hammer, along with healing bandages and other supplies, giving your team a head start on construction.
FOBs are far more useful than the tutorial explains, and they’re vital to ensuring your team maintains control of the zone and increases your points.
Wardogs Strategy Guide
The strategic payoff of building a FOB is substantial. It establishes a protected zone where your team can erect walls, defenses, weapons, and other buildings—typically concentrated around the towers, though they can be positioned anywhere within the zone of control. If your team fields four mortars inside a heavily fortified base, infiltrating that position becomes a serious challenge for the opposition, shielding your mortar operators from damage to their personnel, vehicles, and equipment. Conversely, when an enemy team swarms a base with heavy artillery, robust defenses become the deciding factor between survival and collapse, often allowing your squad to hold an advantage in the control zone.
Perhaps the most underrated benefit is logistical: parking an APC inside a FOB’s zone of influence lets your team spawn directly within the control zone, bypassing the long and hazardous journey by road or air. This mobility advantage can shift the momentum of a match almost instantly.
Strategic Placement and Team Coordination
When it comes to placement, the tower remains the most common and reliable choice. Towers are among the only indestructible structures in Wardogs, so pairing them with a solid perimeter wall creates a robust stronghold. There is no limit to the number of FOBs your team can field, which opens up creative options—such as positioning several FOBs around the outer edge of the control zone to launch coordinated mortar attacks with a reduced risk of being overrun.
Churches offer another compelling option. These landmarks are equally indestructible and are frequently situated at high ground or behind limited road access, making them tactically advantageous. Fortifying a church provides your team with a strong spawn-in location that isn’t directly tied to your tower, adding flexibility to your deployment strategy.
However, building a FOB is only half the equation—defending it is what truly matters. A FOB requires constant resupply of building materials, ammo, and fuel, particularly when your team constructs advanced support structures like the anti-armor drone launcher or the drill. The drill is especially valuable, as it pulls the hot zone toward your FOB when activated, meaning anyone in the vicinity immediately earns more XP and cash. Supporting your FOB means driving logistics trucks loaded with supply pallets or flying aircraft to shuttle materials from your spawn base to the front lines.
Each pallet of supplies costs $400, but you’ll get $2,500 for dropping each pallet off at a FOB.
Wardogs Strategy Guide
When delivering supplies, players must press F to extract the pallet to the FOB, though teammates often handle this automatically. Smaller crate supplies require manual carrying, so players should ensure they’re equipped with a large backpack. Clear communication is essential—keep an eye on the text chat or use voice chat to ask teammates directly what they need if you’re within range.
Looking Ahead
When constructing a FOB, players should prioritize efficiency by starting with perimeter defenses: high walls topped with barbed wire, minimal doors, and a single main entrance gate for supply trucks. Once the perimeter is secure, offensive capabilities like SAMs, mortars, and sniper towers can defend the walls while damaging the opposition, with the drill following next to keep the point-earning hot zone active. Refueling stations should be treated as a last resort.
Defensive integrity is critical once the FOB is built. Wrapping the structure in a green single door and a double-high HESCO wall prevents the console from being hacked while you bring up proper defenses, and players should avoid placing the FOB on the roof, where a single well-placed mortar can destroy it and leave your team exposed. Remember too that only the team controlling the FOB can open its doors, so keeping them closed is essential to maintaining your advantage.
With these strategies in place, matches become far more winnable—but the real challenge lies in communicating the plan to the dozens of players on your team and hoping they execute it. For players looking to sharpen their skills further, the community is also tackling common pitfalls, from troubleshooting a parachute that isn’t working to mastering helicopter flight without taking out half your squad.
As Wardogs continues to grow its player base and refine its early access experience, mechanics like the FOB will remain central to how teams coordinate, defend, and ultimately control the battlefield. For newcomers and veterans alike, understanding these structures is no longer optional—it’s the difference between holding the line and crumbling under pressure.
When Cheri isn’t handling the site’s evergreen and guides content, you’ll probably find her mourning Destiny 2, building obscure structures in Minecraft, or saying “just one more run” while playing the latest roguelikes.
For other Wardogs tips, check out what to do if your parachute isn’t working and how to fly a helicopter without killing half of your team.






Comments
Be the first to comment.