Unlocking the Secrets of St. Tyna’s: A Guide to “Echoes of Silenced Bells” in Blood of Dawnwalker
In the sprawling world of Blood of Dawnwalker, quests often lead you down unexpected paths, forcing you to make difficult choices that impact the narrative. One such quest, “Echoes of Silenced Bells,” emerges as you venture beyond Laslea and into the St. Tyna’s Grove region. This guide will walk you through completing this pivotal quest, offering insights into its nuances and the consequences of your decisions.
Navigating the Haunting Halls of St. Tyna’s
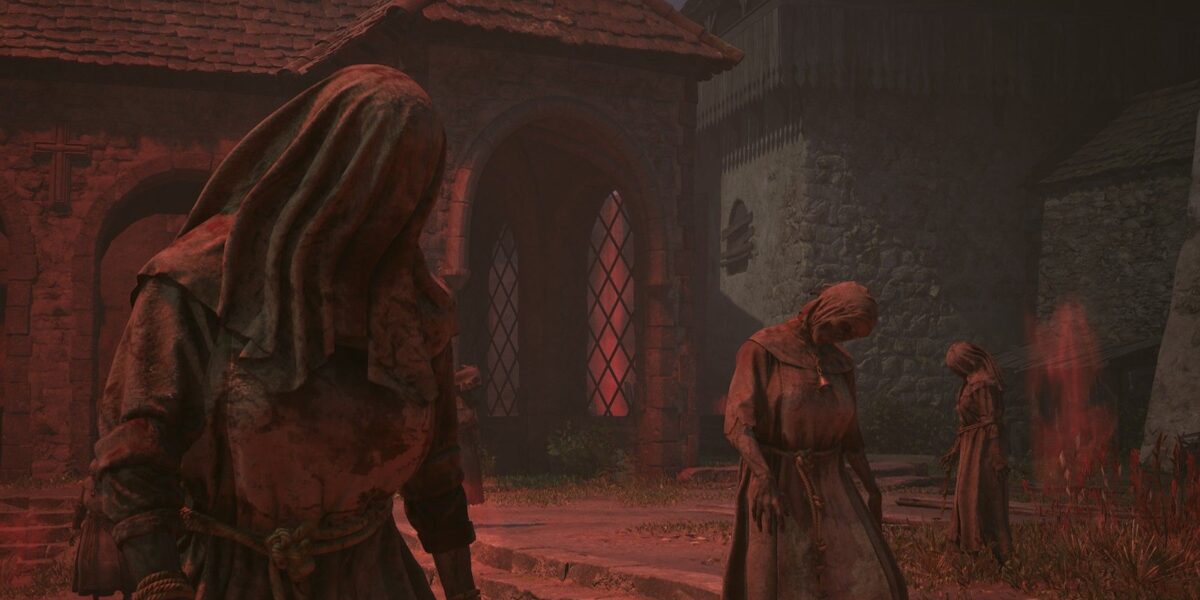
The “Echoes of Silenced Bells” quest begins with Anca, who seeks entry to St. Tyna’s Convent. Upon arrival, you’re confronted with a chilling sight: all the nuns have been transformed into self-reviving zombies. Your objective is twofold: help Anca enter the convent and locate books that might aid in defeating the Vrahkir.
The initial stages are straightforward, but the quest takes a turn when you need to navigate the central courtyard and find a safe passage for Anca to reach the library.
Before proceeding, remember to grab the “Saint’s Tibia” item from the corpse below the ladder in the west of the area. This seemingly insignificant item will be crucial in a later quest.
Two Paths to Salvation: Retrieving the Relic or Ringing the Bells
The quest presents two distinct approaches, each with its own set of challenges and rewards:
1. Helping Brencis’ Soldiers Retrieve The Relic of St. Tyna
This path involves assisting a group of soldiers who have been sent to retrieve “The Relic of St. Tyna.” To gain their cooperation, you must first locate the relic, which has been moved from the main church to the sacristy.
The sacristy is locked, requiring “Monastery Keys” that can be found hanging in a wooden shed against the wall. After retrieving the relic, you have a choice: return it to the soldiers or keep it for yourself. If you choose to keep it, you’ll need to find an alternative route for Anca.
Returning the relic allows you to obtain the keys from the soldiers, enabling Anca to safely reach the library. However, keeping the relic, an Epic Amulet, requires a different strategy.
The alternative involves using the convent bell to clear the path for Anca. This method requires finding the “Campana Loquitur,” which details the nuns’ daily routine and how it’s governed by the church bells.
By ringing the infirmary signal, you send the zombie nuns to the soldiers’ location, allowing you to then direct them towards the church. This clears the path for Anca and allows you to loot the area without resistance.
2. Using the Convent Bell to Clear the Path
This path requires finding the “Campana Loquitur,” which details the nuns’ daily routine and how it’s governed by the church bells.
By ringing the infirmary signal, you send the zombie nuns to the soldiers’ location, allowing you to then direct them towards the church. This clears the path for Anca and allows you to loot the area without resistance.
The Devil’s Bargain: Burning the Notes or Seeking a Cure
After helping Anca reach the library, you confront Leonica, who is revealed to be attempting to cure the nuns. Upon defeating her, you are presented with a crucial decision: burn the notes or allow Anca to continue her work.
If you choose to burn the notes, Anca will be disappointed but quickly recovers. This option has no immediate impact on her questline or your ability to romance her.
However, if you allow Anca to continue her work, she succeeds but mentions that she had to make more unholy pacts in the bargain. This decision will have consequences later in her questline and might influence your choices in her subsequent “Stronger Than Achilles” quest.
Consequences and Considerations
Regardless of your choice regarding the notes, the next “Between the Words” quest will proceed as normal, and Anca’s actions and dialogue will remain consistent. Whether you choose to burn the notes or allow her to continue her work, neither option ultimately impacts your ability to romance her or progress in her questline.
“Echoes of Silenced Bells” is a pivotal moment in Blood of Dawnwalker, offering players agency and shaping the narrative in subtle yet significant ways. Your choices will have consequences, both immediate and long-term, influencing Anca’s journey and ultimately impacting your own.
Blood of Dawnwalker tips
Blood of Dawnwalker romances
Swordmastery manual locations
Witchcraft manual locations
Blood of Dawnwalker Vrakhir blood
Sean’s first PC games were Full Throttle and Total Annihilation and his taste has stayed much the same since. When not scouring games for secrets or bashing his head against puzzles, you’ll find him revisiting old Total War campaigns, agonizing over his Destiny 2 fit, or still trying to finish the Horus Heresy. Sean has also written for EDGE, Eurogamer, PCGamesN, Wireframe, EGMNOW, and Inverse.
You must confirm your public display name before commenting
Please logout and then login again, you will then be prompted to enter your display name.



Comments
Be the first to comment.