

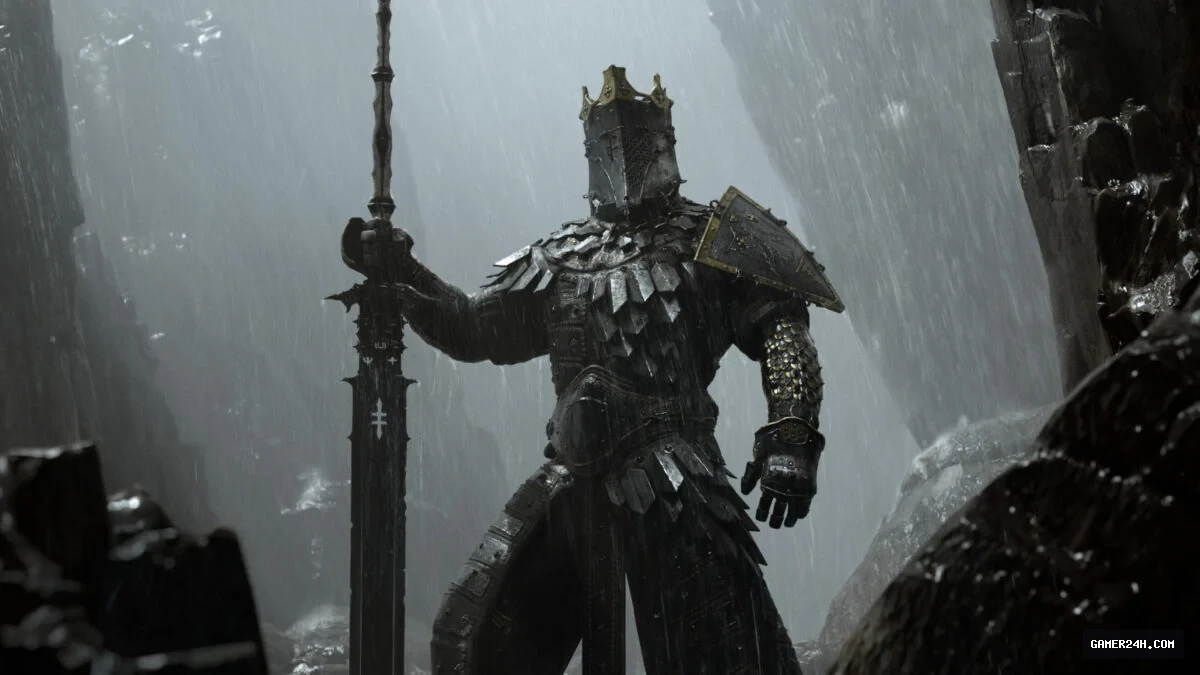
In Mortal Shell II, the coveted Glimpses—the shards that reinforce shells and unlock skill trees—are not infinite. Early on, I found only enough to fully upgrade two shells, with a handful left for sprinkling elsewhere. While future patches might tweak drop rates, the current scarcity means you should be deliberate: channel Glimpses into the shells you plan to keep long‑term. They can also be burned to reveal hidden shells or summon NPCs for boss battles, but the payoff is far greater when they open skill trees.
Like many Soulslike titles, Mortal Shell II is peppered with deceptive walls. Some are obvious, marked by a distinctive glyph; others are more subtle. Whenever you spot this symbol—whether on a wall, tombstone, or other surface—give it a test swing and see what unfolds.
Your inventory holds consumables that serve a dual purpose. In the heat of battle, you can use them for instant effects such as healing or status mitigation. Alternatively, you can slot them into a passive equipment slot to gain ongoing benefits—continuous health regeneration, damage reduction, and more. The more of these items you gather (and it’s fine to use them; the game rewards quantity over current stock), the stronger your passive bonuses become.

Early in the campaign, a minor boss commands a flock of sheep that will attack you while attempting to turn you into one of them. Defeating this foe rewards you with the Sheephead Totem. As a consumable, it temporarily transforms you into a meek sheep, but its passive effect lowers enemy HP. Keep an eye out for additional sheep throughout the world to collect more totams and amplify the passive advantage—some are well hidden, so thorough exploration pays off.
In Echoes of the Void, most beacon checkpoints double as compact dungeons that demand a cleansing of enemies. Every beacon you encounter should be thoroughly cleared, as some harbor valuable rewards such as powerful weapons or rare Tarstones, while others contain scattered Ova that accelerate your progress toward the final stages. Regardless of the loot, the effort is always justified.
For players struggling with combat, the Slayer Seal tucked away in Marrow Keep—just beyond the vendor Merrick—offers a practical solution. Equipping this seal disables trophies and achievements, but it significantly boosts your sidearm’s performance and restores health with each riposte. Certain shells even grant a burst of ripostes, allowing you to stay resilient without depleting your supplies.
Once you’ve mastered the core mechanics, consider diving into Night mode to reap additional rewards. This harder variant increases enemy health and damage, effectively turning the experience into a true Hard Mode. In return, you’ll unlock richer payouts, exclusive vendors, and special events that aren’t available in the standard run. After clearing Marrow Keep, simply warp to the Widow’s Overlook beacon, backtrack to the sandy graveyard, and claim a Gloombound Flame from a headstone. Use it at the summit of Marrow Keep to activate Night mode.
Tarstones, which you can slot into your weapons to enhance attacks, passives, and special abilities, are plentiful—over 70 scattered throughout the world. Their progression system is designed for frequent experimentation, so feel free to swap them once they hit experience thresholds to keep them evolving. Some Tarstones are tailored to specific weapons, especially those dropped by major bosses, hinting that the corresponding weapon can be found near that boss’s location or gate. If locating these weapons proves challenging, Merrick offers maps to their general areas for purchase.
For players seeking a quick and efficient way to boost their experience early in the game, the area just beyond the Mushroom Village Gate offers an ideal spot. From the beacon—remember to cleanse it before proceeding—turn around and make your way up the bridge to encounter a towering, bipedal beast with formidable mandibles.
This creature is surprisingly easy to stunlock, and each defeat rewards players with over 2,000 gloom, making it a prime target for grinding. Its proximity to the beacon allows you to quickly stack additional power before advancing into the gate to face one of the game’s major bosses.
Experience progression in this title follows a linear curve, with certain level thresholds offering modest growth while others deliver noticeable boosts. If you’re on the cusp of gaining a vital stat—such as an extra point in base attack or shell resilience—this location is the perfect place to camp and maximize your gains.
❓ Frequently Asked Questions (FAQ)
How should I prioritize using Glimpses in Mortal Shell II?
Because Glimpses are limited, you should channel them into the shells you plan to keep long‑term. Upgrading a shell fully unlocks its skill tree, giving you the biggest payoff. Use any extra Glimpses to reveal hidden shells or summon NPCs for boss battles, but reserve the majority for the shells you intend to keep.
What are deceptive walls and how can I identify them?
Deceptive walls are hidden passages disguised as solid walls. They are marked by a distinctive glyph. Whenever you see this symbol on a wall, tombstone, or other surface, give it a test swing to see if it opens up a secret area.
Can I use consumables both in combat and as passive bonuses?
Yes. Consumables can be used in the heat of battle for instant effects such as healing or status mitigation. Alternatively, you can slot them into a passive equipment slot to gain ongoing benefits like continuous health regeneration or damage reduction. The more consumables you gather, the stronger your passive bonuses become.
News Source: Kotaku























Join the conversation