

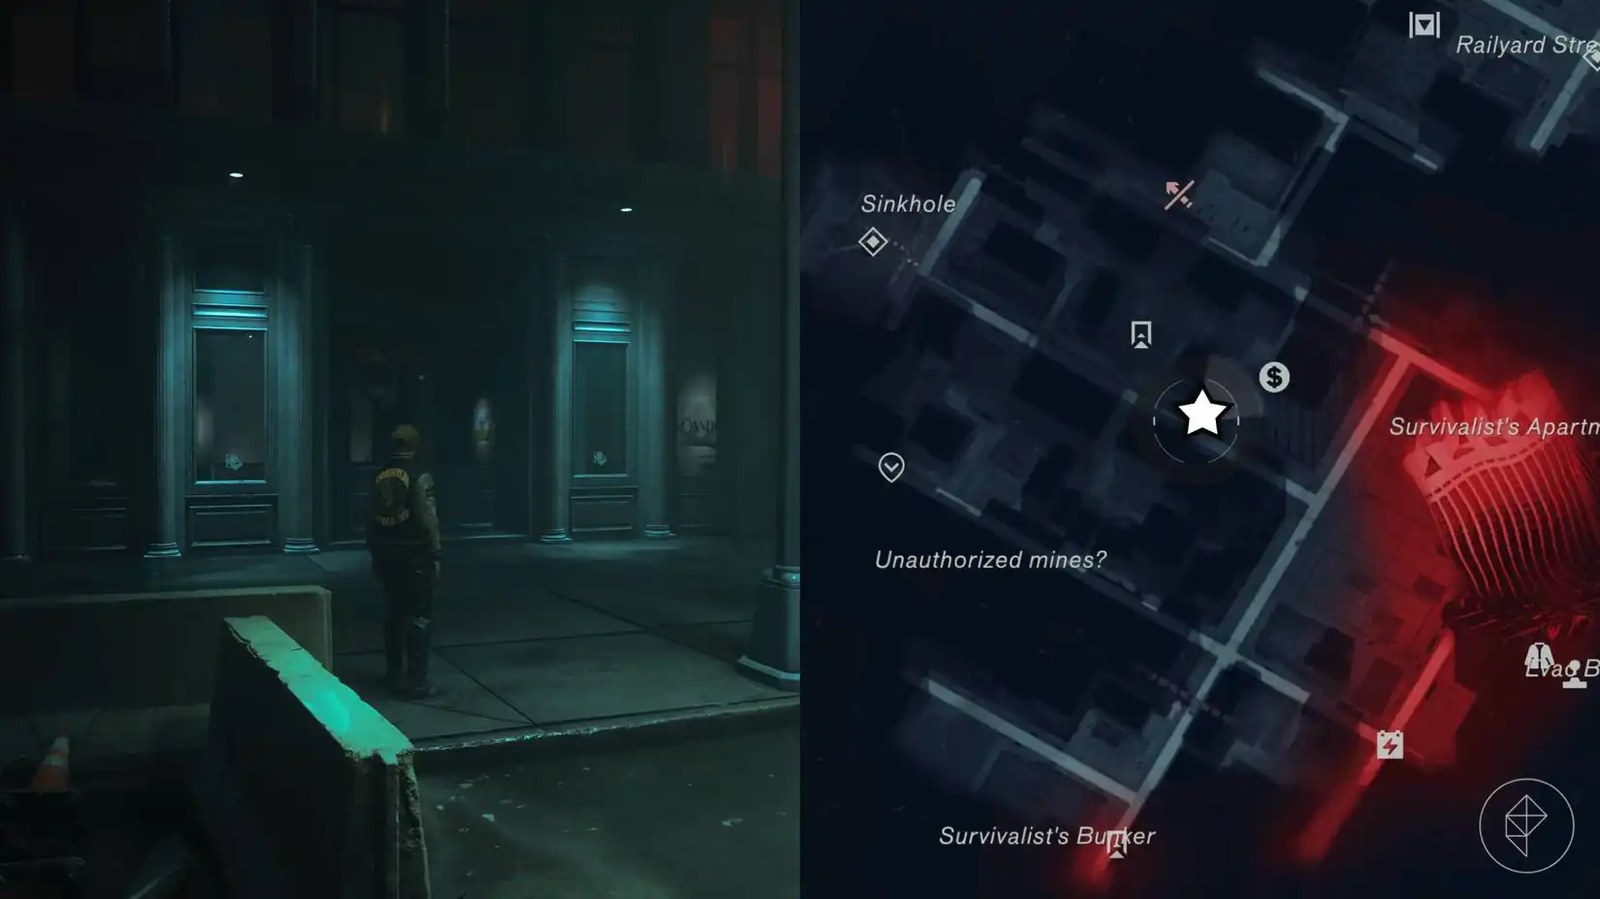
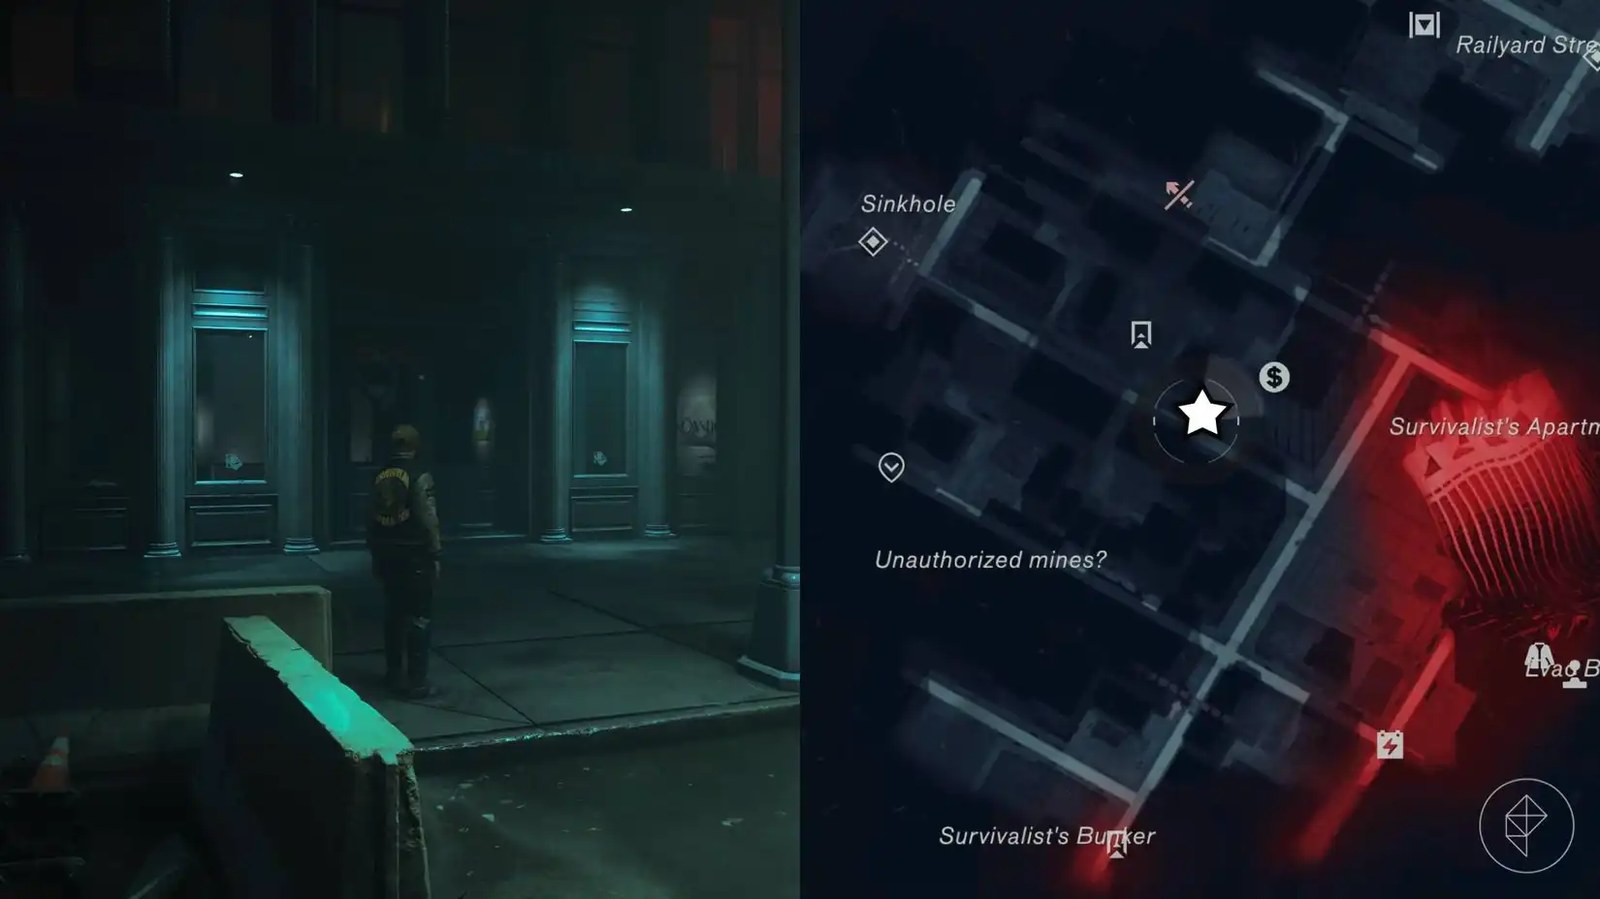
Players of Control Resonant have a new puzzle to crack in the Evacuation Zone, where the Könstig art gallery hides a cleverly disguised secret behind an art exhibition. The gallery’s Echo exhibition, created by artist Charlie Meecham, forms the centerpiece of a light-based hideout puzzle that mirrors the mechanics of the earlier Urban Fresh Mart secret in the West Incursion Zone. Completing the challenge unlocks a concealed room in the gallery’s basement, rewarding players with a health point and a handful of additional lore collectibles. For those looking to finish the gallery’s puzzle, here is a complete breakdown of how the Echo art gallery secret works and how to solve it.
Reading the Clue on the Wall
The moment you step into the Könstig gallery, the Echo exhibition sign becomes the key to the entire room. It hangs on the wall beside the front desk, and on that desk sits a note listing the paintings that sold this month: “Journey, Windows, Thunder, and Tides.” That note is the puzzle’s instruction sheet. Scattered around the room are four switches, and each switch is wired to three of the artworks hanging on the walls. When you activate a switch, the artworks it controls light up in sequence. The trick is knowing which three of those artworks to trigger so that the four paintings matching the note’s titles come alive.
Mapping the Solution
The cleanest way to describe the solution is to label each artwork as left, middle, or right, paired with a short description. Working clockwise around the room, starting with the set positioned to the left of the front desk, the four paintings you must light are as follows:
First is the Middle artwork, depicting a country lane flanked by hedges on either side as it passes beneath a large tree. Next, moving to the Left, is a set showing spiraling tree branches in a forest-like environment, with brown leaves blanketing the floor. The third required painting is also on the Left: a lone tree standing in a field, its short trunk sending two enormous branches outward. Finally, the Middle artwork to complete the set portrays a dead, fallen tree with its roots exposed, lying atop a river with ripples in the water.
Once all four matching artworks are lit, a wall at the back of the gallery slides open, revealing the hidden hideout. Head inside to collect your health point and the extra lore pieces that were waiting in the basement.
Like the Urban Fresh Mart, this secret rewards the curious player who takes the time to read the room and connect the clues on the wall to the art on display.
Gamer24h editorial team
Why the Puzzle Matters
The Könstig gallery secret is more than a simple collectible grab. It reinforces the game’s tradition of rewarding exploration with hidden spaces that deepen the world’s lore. By tying the solution to a note about paintings that “sold this month,” the developers have layered a small narrative puzzle on top of the mechanical challenge, encouraging players to observe their surroundings rather than simply brute-force every switch in the room. The payoff—a health point plus additional lore collectibles—fits neatly into the game’s broader design of encouraging thorough exploration of each zone.
Looking Ahead
With the Echo art gallery secret solved, players can continue their journey through the Evacuation Zone, confident that the gallery’s hidden room is now fully claimed. The same approach that unlocked this secret—reading the note, matching the four paintings, and activating the correct switches—can be applied to similar hideout puzzles scattered across the game’s zones. For those still hunting for secrets elsewhere in Control Resonant, the pattern established by the Könstig gallery and the Urban Fresh Mart suggests that most of these challenges reward careful observation and patience over speed.



1 comment
[…] Article: How to Solve the Echo Art Gallery Secret in Control Resonant → Kaynak: IGN […]