

If you’re diving into the grim world of Mortal Shell II, and feeling overwhelmed by its dark atmosphere, don’t worry! This guide offers 12 essential tips to help you navigate the game like a seasoned veteran. From optimizing your resources to uncovering hidden secrets, these insights will ensure you have a smoother and more rewarding experience.
Optimizing Your Resources
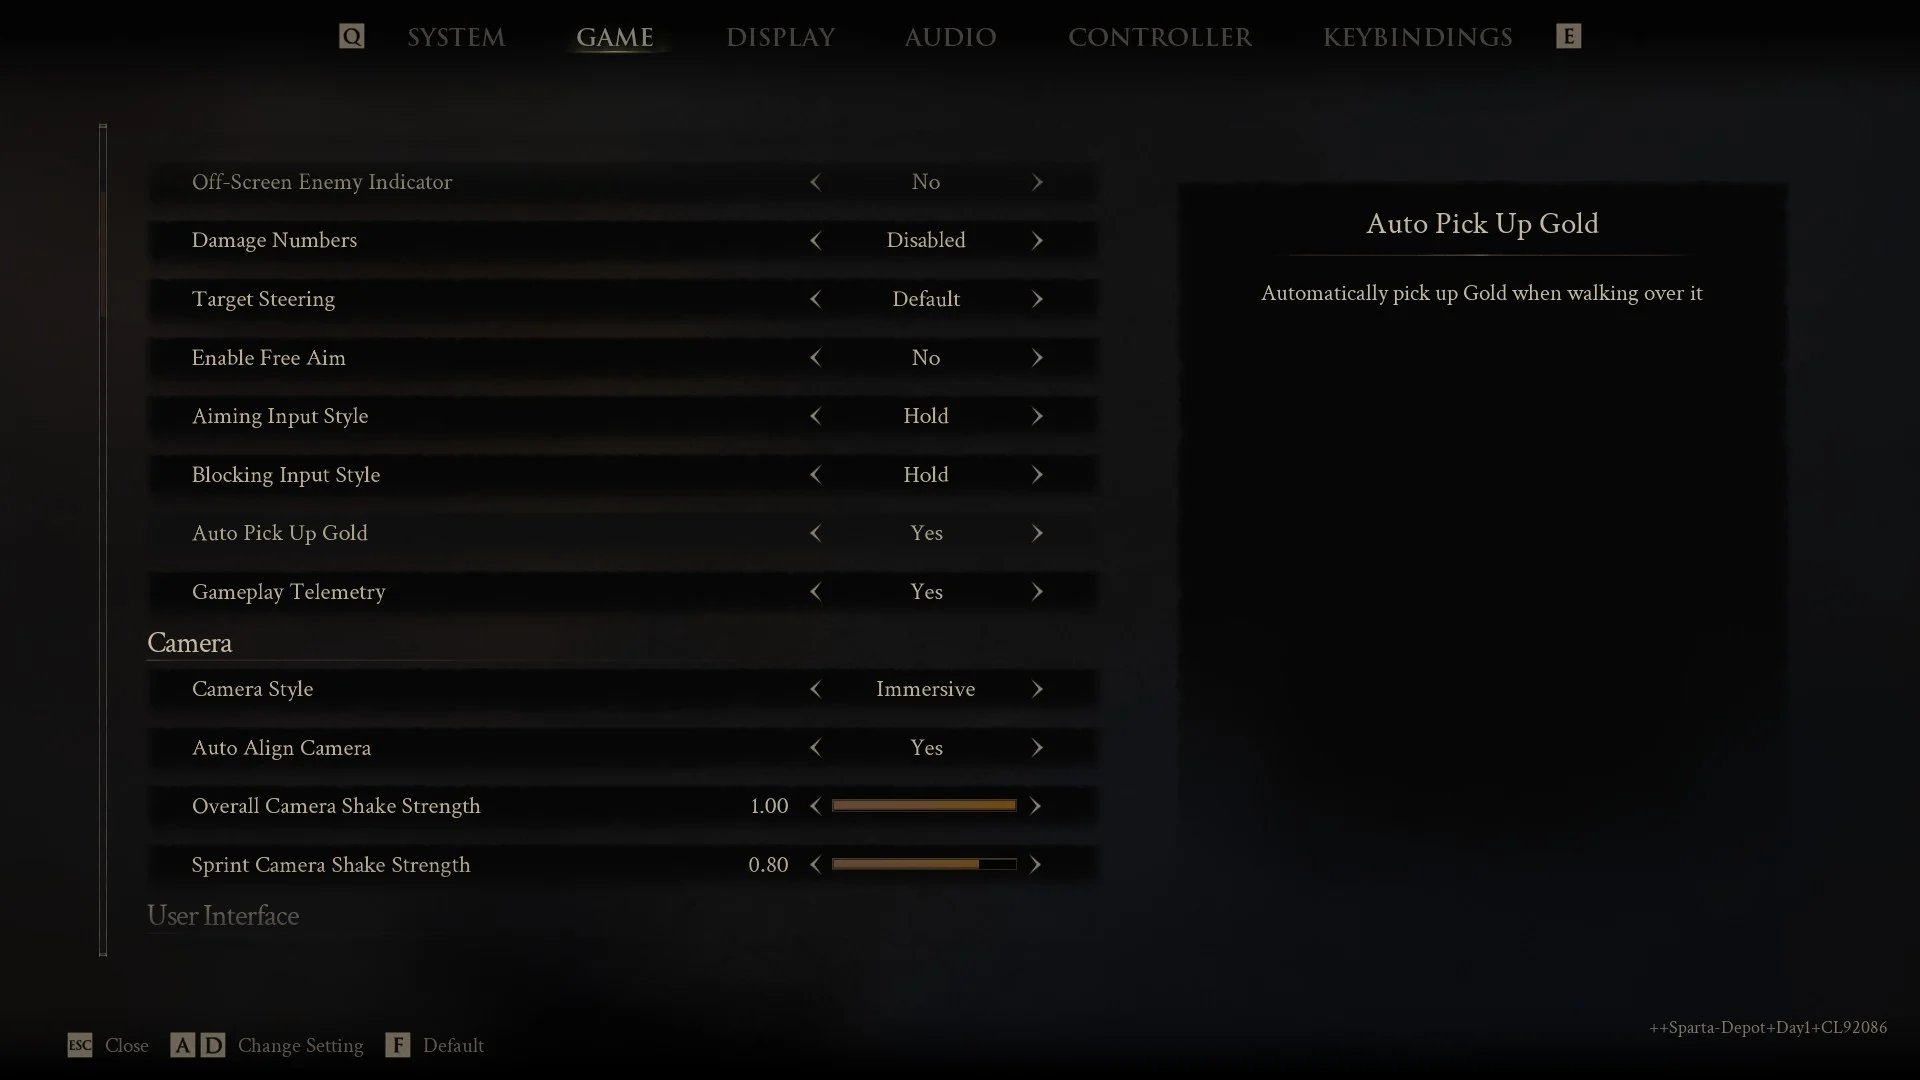
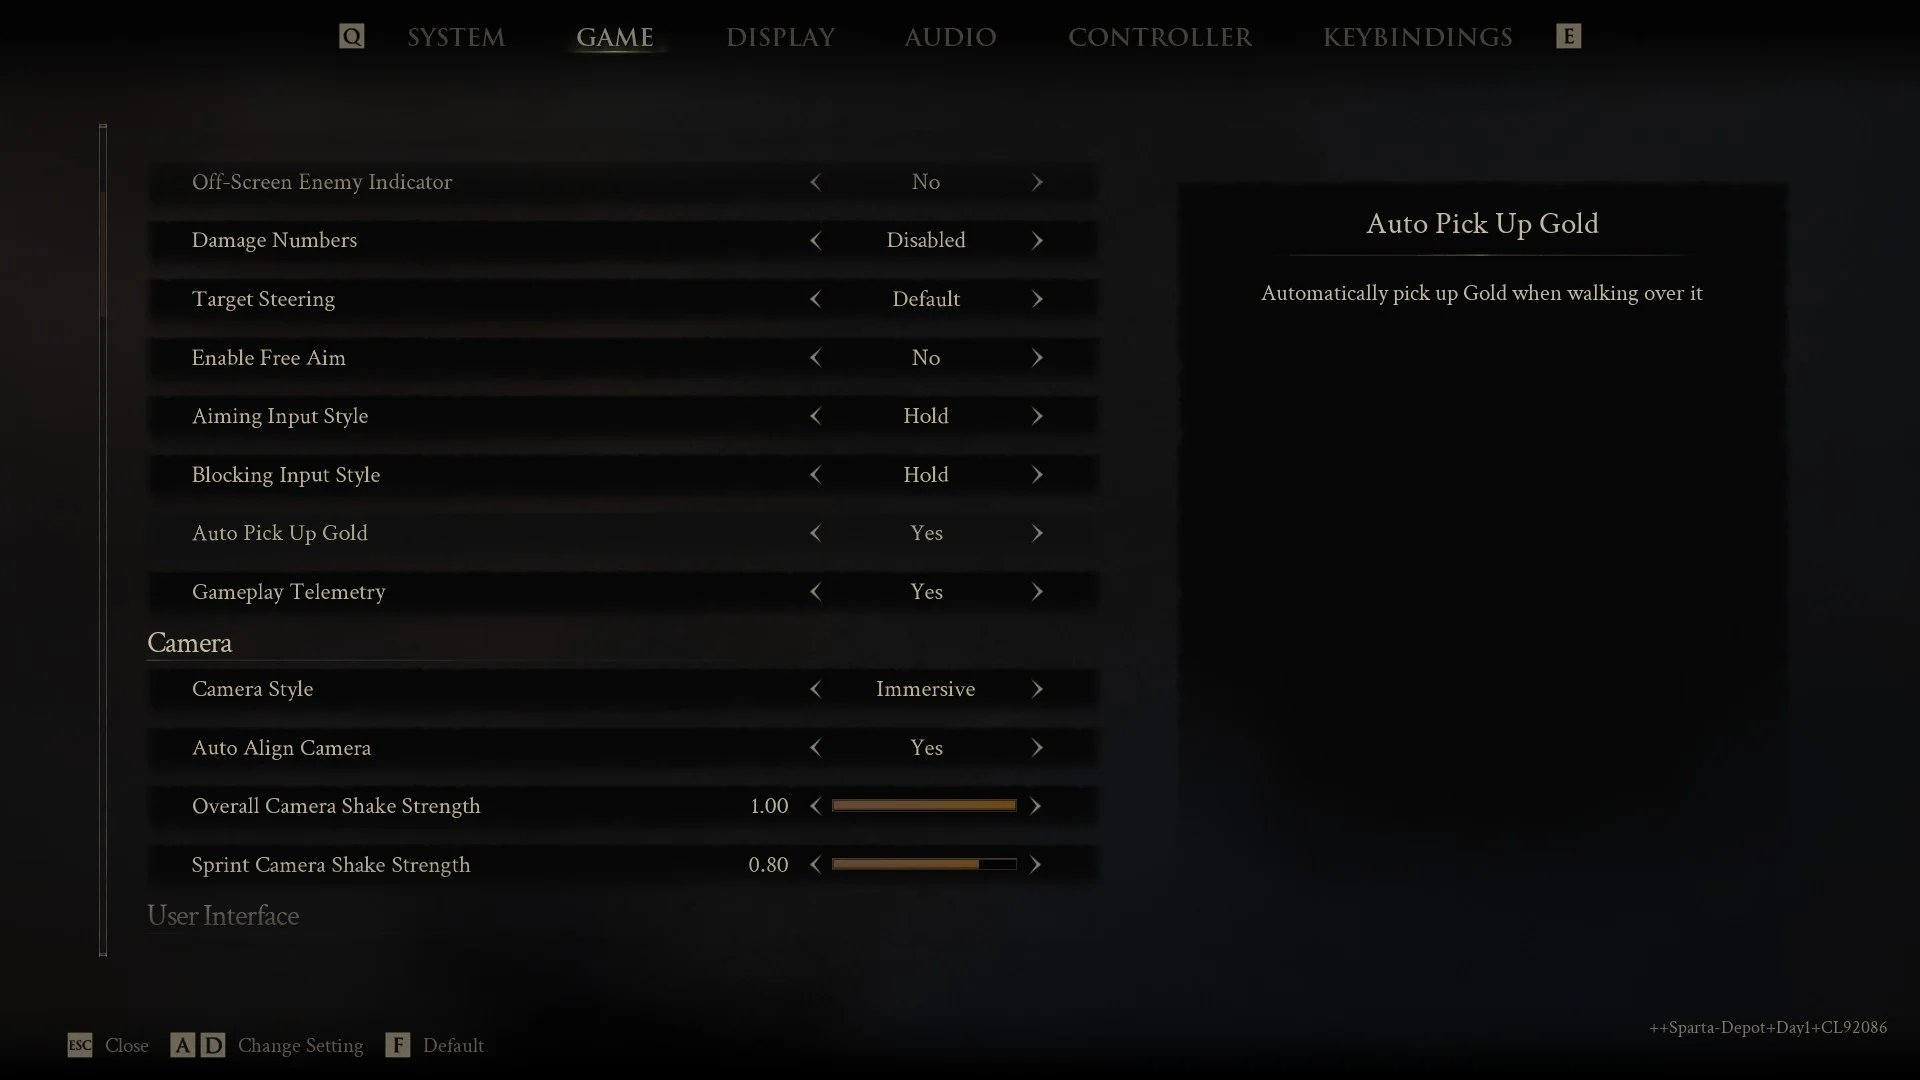
First things first, head into the settings and toggle on “auto pick up gold.” With this setting turned on, walking over coins left on the ground will automatically add them to your wallet. This is especially handy in locations like swamps where the loot can be a bit difficult to see.
After speaking to the NPCs in the Marrow Keep for the first time, you’ll have the approximate location of two shells added to your map: Tiel and Proxima. Head straight for one (or both) the second you get into the open field. While the frame of the Harbinger main character is fine, shells are your primary classes in the game and will significantly add attack and defense just by having one equipped. And not for nothing, both of these are solid choices for the majority of the game.

Coming back to cash, the Proxima shell is one of the better options for exploring the open field, and one of the reasons is its ability to make enemies drop sellable items. Since dough can feel a little scarce in the late game, even with Tarstones that boost money drops, this can make farming much easier. Be warned, though, that this is a tier 3 skill in her ability tree, which is a significant investment.
Speaking of builds, Glimpses, the item used in strengthening shells and unlocking skill trees, are finite across play cycles. In my experience pre-release, there were only enough to max out two shells and have a few left over to sort of sprinkle into some of the others. While it’s possible that this might be adjusted by making these enemy drops in the future, for the moment, be careful with how you spend these and try to pump them into shells you think you’ll stick with for the long haul. Glimpses can also be burned to locate other shells or summon NPCs for major boss encounters, though I don’t feel that either of these are worthwhile compared to using them to open skill trees.
Unveiling Hidden Mechanics
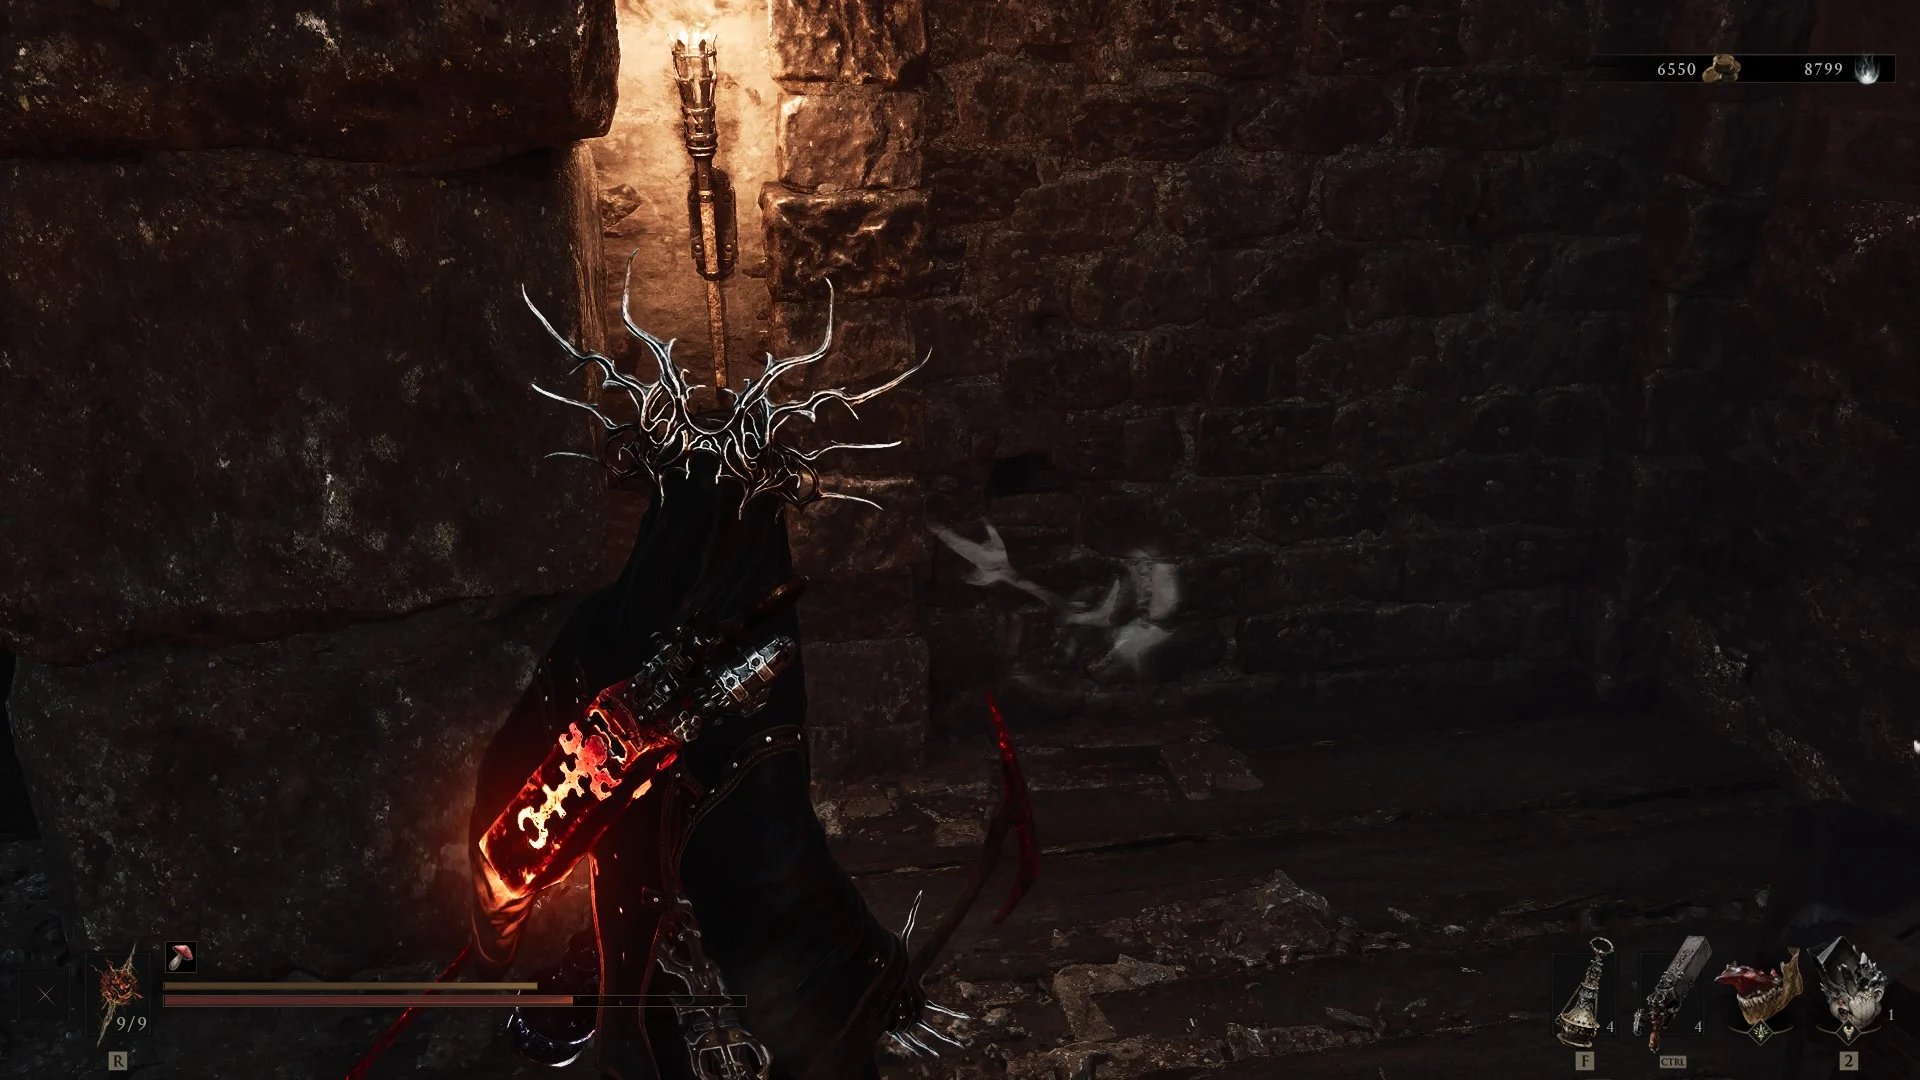
Like other Soulslikes, Mortal Shell II has its share of false walls. Some of them are more obvious than others since they have this symbol painted on them. Bottom line, if you see this glyph on a wall, a tombstone, or anywhere else, take a swing at it and see what happens.
Consumable items in your bag have a dual purpose. First, obviously, you can pop them for immediate effects in the field like health regeneration or status effect mitigation. However, you can also add them to a passive equipment slot for different effects, like continuous slow health replenishment or overall damage reduction. Even better, the more of these that you collect (and it’s OK to use them; the game is more interested in the amount that you find, not how much you currently have), the stronger the passive benefits become.
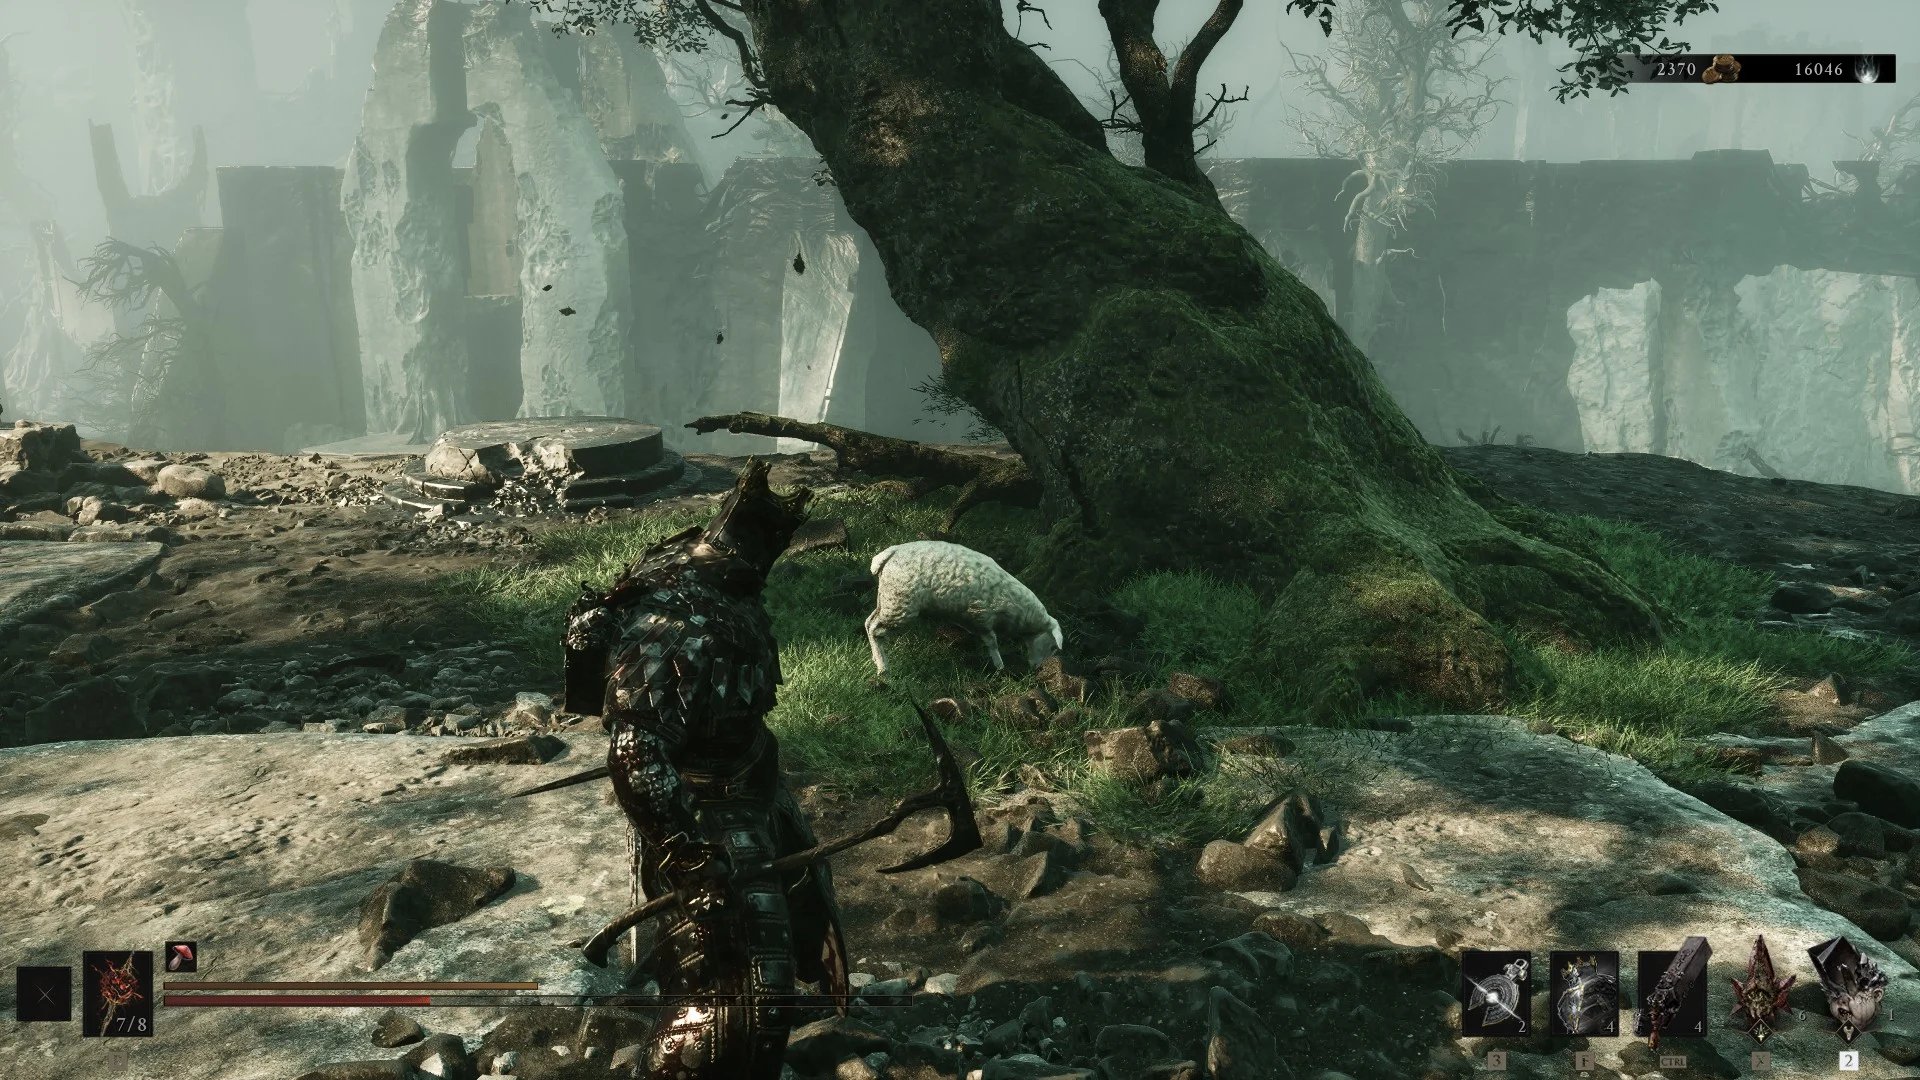
Early in the game, you’ll encounter a minor boss that controls a small flock of sheep to attack you while also doing its best to turn you into one of them. Killing it grants you the Sheephead Totem. As a consumable, it converts you into a meager sheep, but the passive ability reduces enemy HP. From here on, look around for any more sheep in the game to nab more of these for the passive effect boost. Be thorough; some are pretty well-hidden.
The vast majority of the beacon checkpoints in the game also happen to be mini-dungeons that need to be cleansed. Make sure that you do this at every beacon. Some of them will have important prizes like weapons or Tarstones, while others have a few stray Ova that will unlock the endgame sooner rather than later. No matter what, they’re always worth the trouble.
Mastering Combat and Progression
We mentioned this in the review, but if you’re really having trouble with combat, grab the Slayer Seal in the Marrow Keep, which is found just past Merrick the vendor. Equipping it will turn off trophies and achievements, but using it greatly enhances your sidearm while also healing you with every riposte attack. Since a few shells have a special ability that gives you as many ripostes as possible, this will help you stay healthy without burning through any items.
On the flipside, once you get used to the combat and are confident with the game, head into Night mode for a variety of other benefits. Enemies have substantially more HP and will hit harder, essentially making this Hard Mode, but the gloom experience payout is greater, and you’ll find vendors and other events that are exclusive to it. You can do this just after hitting the Marrow Keep by warping to Widow’s Overlook beacon, turning around to the sandy graveyard behind you, and grabbing the Gloombound Flame from one of the headstones. Use it at the top of Marrow Keep.
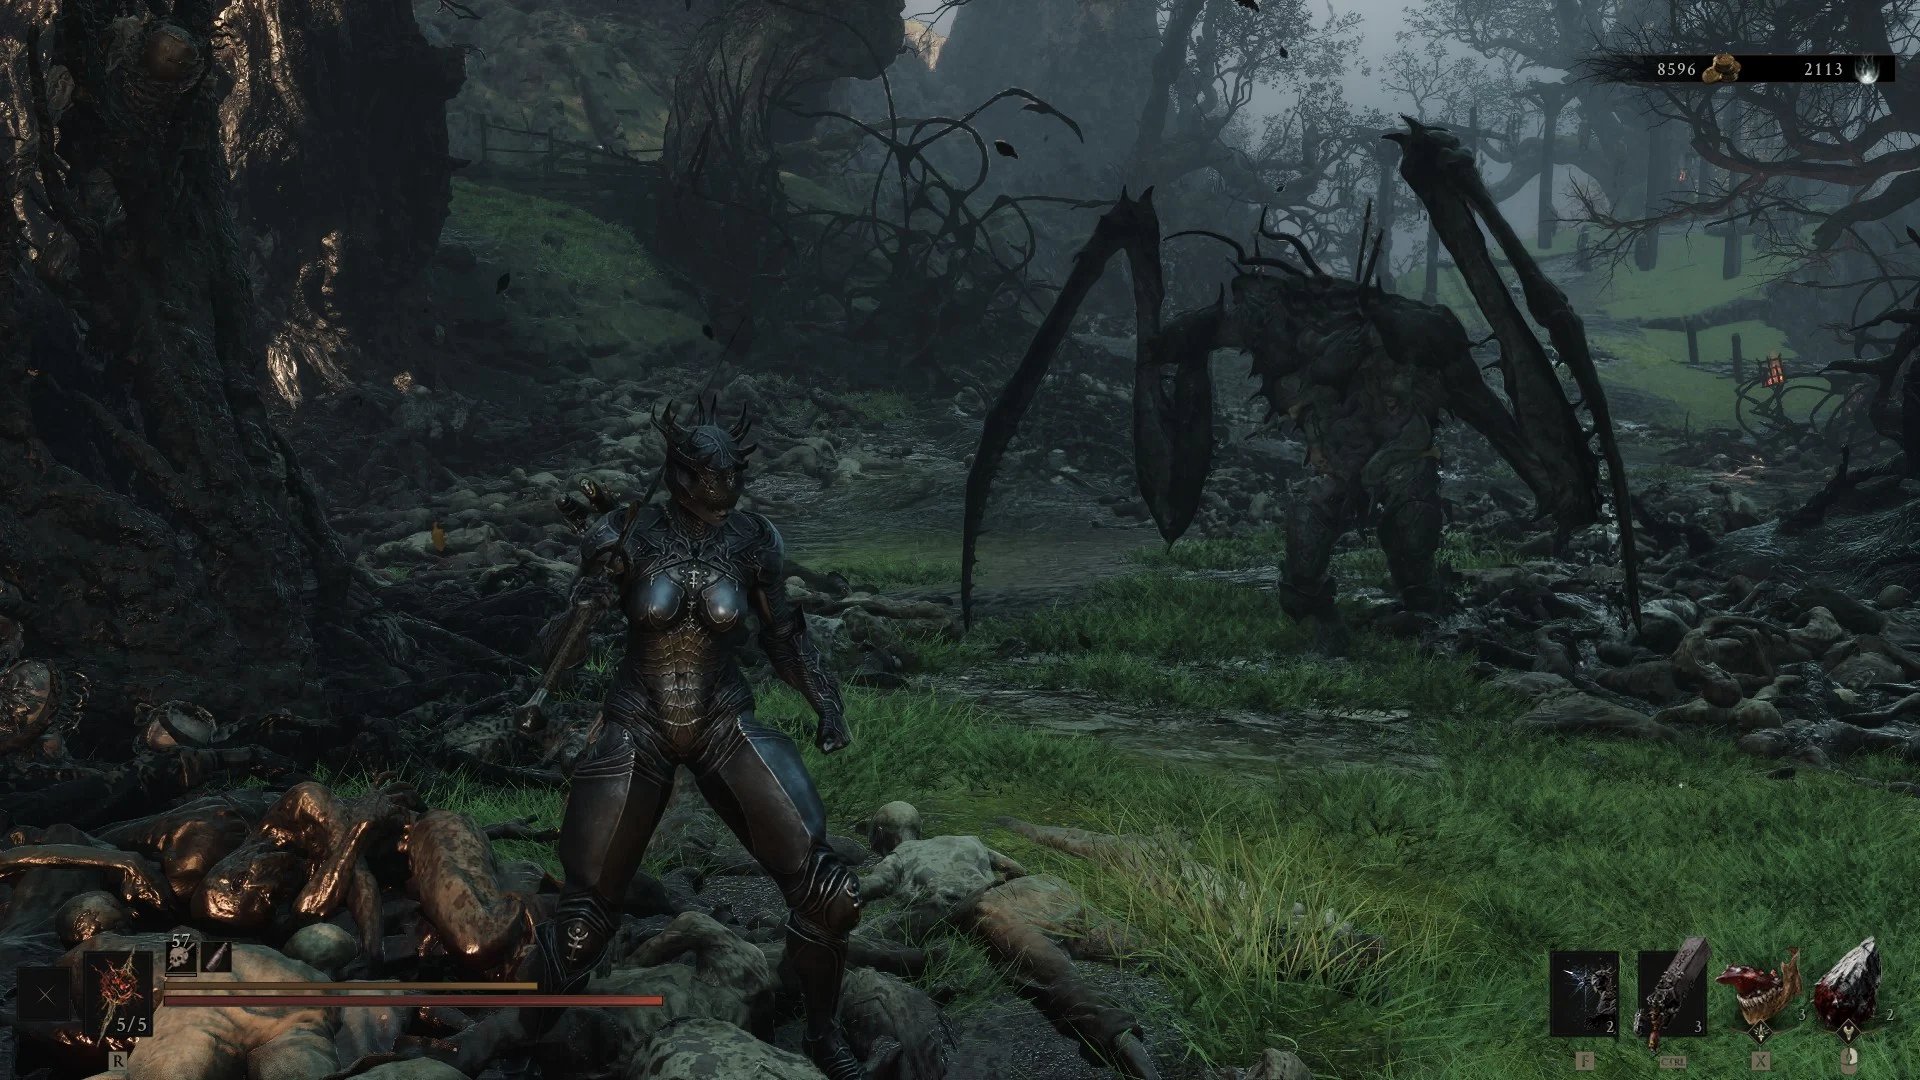
A few small tips about Tarstones, which you can equip to augment your weapons, passive effects, and special attacks. First, there are just over 70 in the game, so you’ll stumble across them frequently. With the way their growth works, the game feels set up for you to shuffle through them frequently, so don’t be afraid to slot in different ones once you hit their experience thresholds to keep them growing. Next, some Tarstones are meant for specific weapons, particularly those gained from major boss encounters. This should be a clue that the weapon in question is found in the vicinity of that boss (either within or near their Gate). If you’re still having trouble finding weapons, you can buy maps to their general locations from Merrick.
Perhaps the reason you’re reading this guide to begin with, a good spot to grind for levels is early on, just in front of the Mushroom Village Gate. From the beacon (remember to cleanse it!), turn around and head up the bridge to find a tall, bipedal monster with large mandibles. It stunlocks fairly easily and drops 2000+ gloom with each kill, and is close enough to the beacon that you can quickly put on a little extra muscle before heading into the gate to fight one of the major bosses. Experience levels in this game are linear and some level thresholds give pretty poor growth compared to others, so if you’re close to, say, adding a point to your base attack or adding a shell point, this is the best place to camp out for a while.
Source: Kotaku























Join the conversation