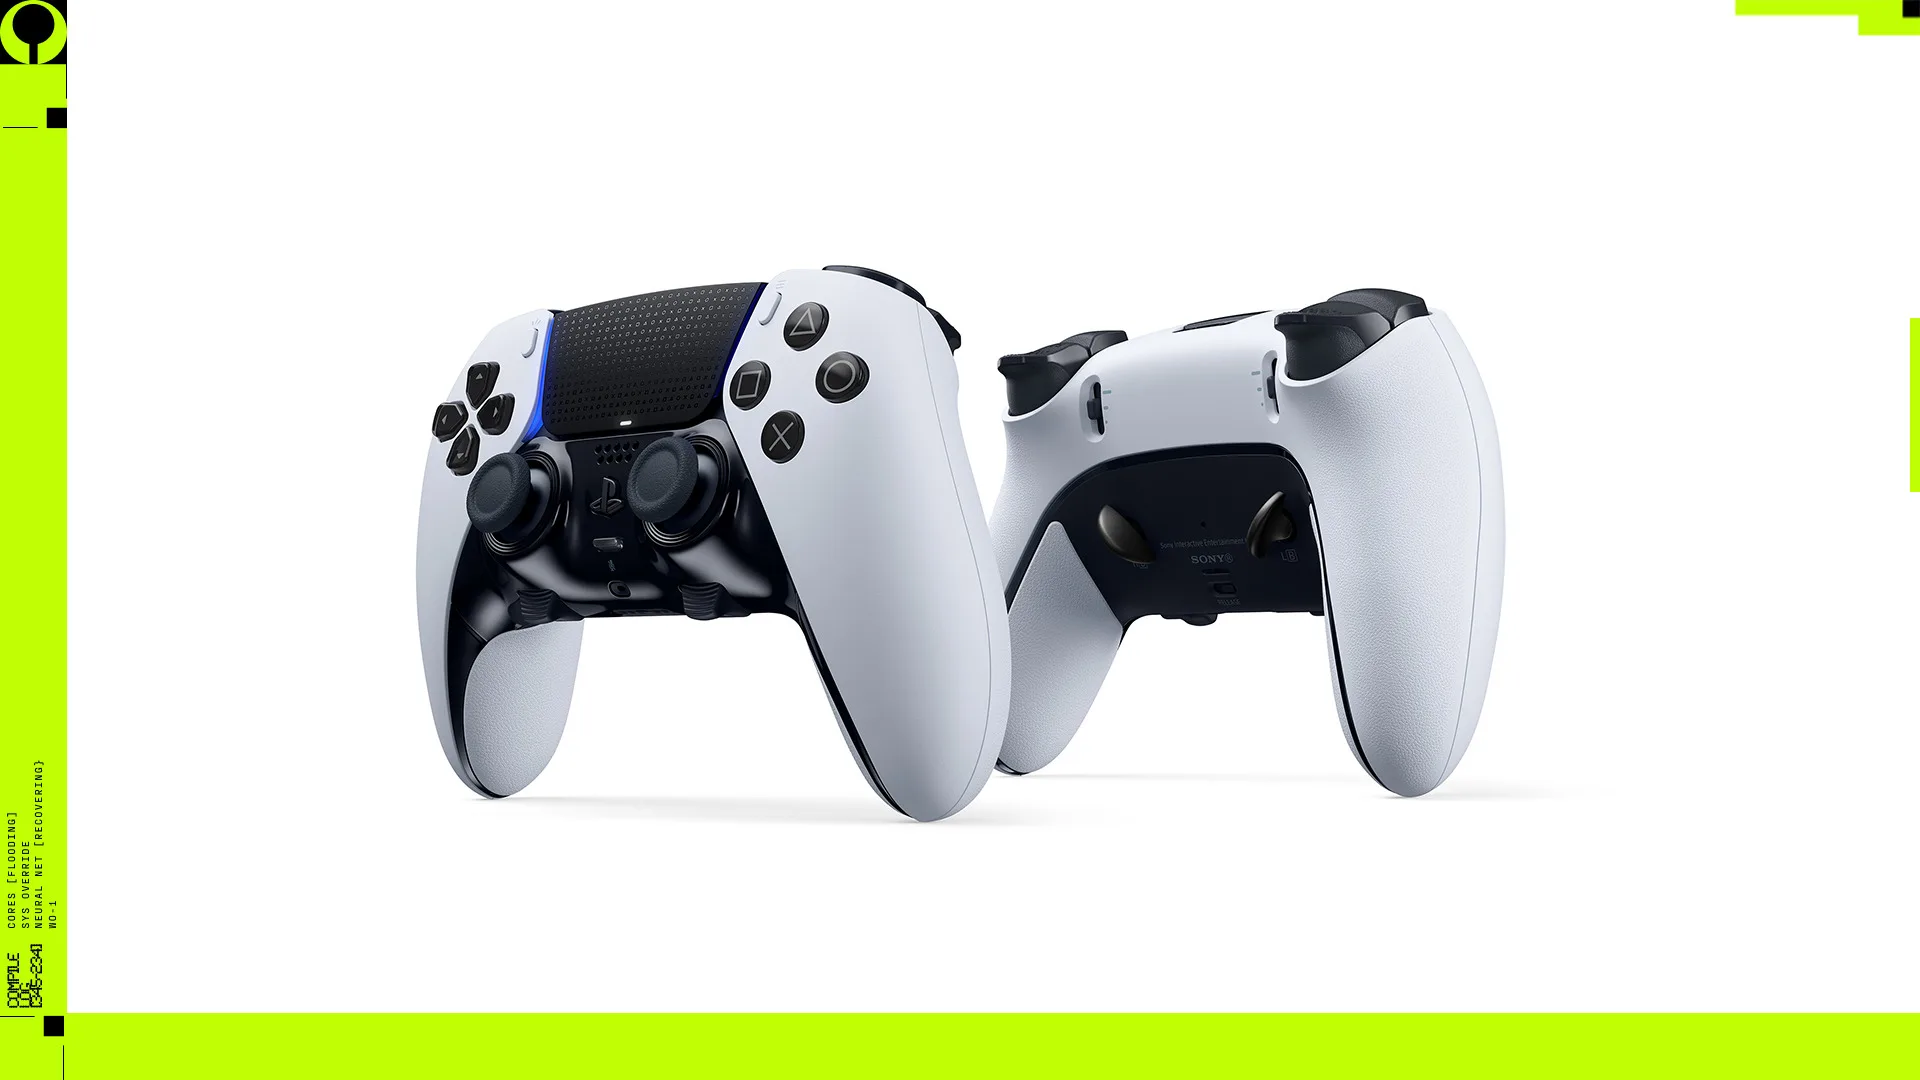
In Marathon, precision shooting is only part of the equation; effective healing, utility, mobility, communication, and strategic use of shell abilities are equally vital. The DualSense Edge wireless controller empowers players to fine‑tune every input, allowing them to configure controls to match their preferred playstyle and even save multiple custom profiles for their favorite shells and loadouts.
Read on for setting recommendations straight from the Marathon dev team at Bungie.
In many shooters, the instinct is to map jump and reload to the back buttons so you can keep your thumbs on the sticks during combat. That approach works well in Marathon, but the back buttons are even more effective when used for other high‑frequency actions.

Re‑mapping the consumable radial and equipment radial to the controller’s back buttons grants you instant access to two of the most vital survival utilities in the game. By eliminating the need to hold the Directional Button Down and Left, you can heal or set up gear without breaking your aim or momentum.
The DualSense Edge controller offers both physical trigger stop sliders and the ability to fine‑tune trigger input ranges within custom profiles.
In Marathon, most weapons fire before the trigger reaches full travel, so setting the medium trigger stop on R2 can make repeated shots feel faster and more controlled, especially with semi‑automatic weapons. If you prefer an even more responsive feel, try the short trigger stop.
In your custom profile, adjust the trigger input range on L2 from 0 to 70. This can make aiming down sights feel more immediate, since less trigger travel is needed before the input kicks in, while still maintaining the comfort of a full trigger pull.
When you’re configuring your playthrough through the DualSense Edge controller, it’s best to leave Marathon’s internal defaults untouched and instead adjust the settings at the controller level. Each profile grants full control over stick sensitivity, sensitivity curve, and deadzone, allowing you to sculpt the feel precisely to your taste.
The DualSense Edge provides six distinct stick sensitivity curves, and for Marathon the optimal pairing is Precise on the right stick coupled with Quick on the left. Precise delivers a more controlled feel for the right stick, ideal for meticulous aiming with precision weapons like the Longshot sniper rifle. Quick, on the other hand, gives the left stick an instant response, enabling swift repositioning and agile evasive maneuvers when combat erupts.
The game delivers a fluid, agile feel when you need to dart around the map, yet it remains composed and deliberate when precision aiming is required.
There isn’t a one‑size‑fits‑all sensitivity setting. Begin with Marathon’s default calibration, then fine‑tune the DualSense Edge controller to match your personal play style. If you thrive in tight, close‑quarters combat and crave swift pivots, bump the sensitivity slightly. Conversely, if your shots feel overly jittery, dial it back until the control feels grounded.
When your controller feels steady and you desire a snappier, more immediate reaction, carefully lower the stick deadzones in your DualSense Edge custom profile. If you prefer a touch of buffer before movement or aiming kicks in, keep the deadzones closer to the default setting.
The secret lies in simplicity: small, focused adjustments yield better performance than attempting to overhaul everything at once.
News Source: PlayStation Blog
Have thoughts, questions, or benchmarks on this topic? Join the discussion on our forums.
Join Discussion ➔






















Join the conversation