

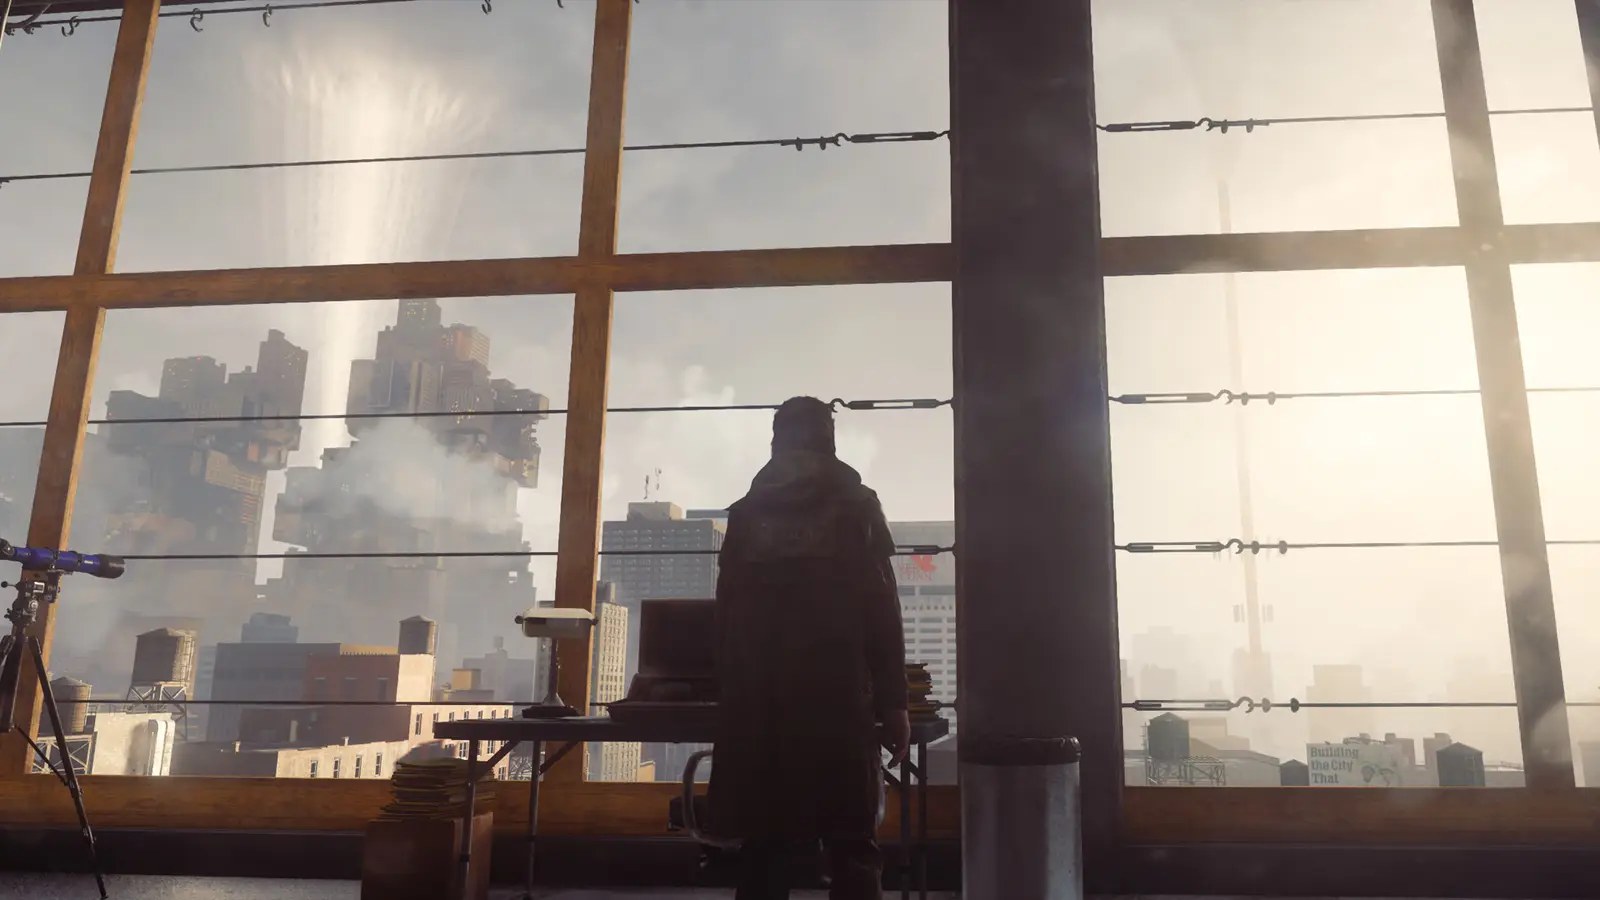
Players diving into the mutant action game Control Resonant are being handed a strategic fork in the road the moment they arrive in the starting hub of Central, where a choice about which of four surrounding zones to tackle first could shape the entire early-game experience. Upon meeting the guide Zoe in the watchtower, newcomers are presented with Central, the West Incursion Zone, the Evacuation Zone, and The Park — and while the developers insist there is no wrong answer, a growing wave of community guidance suggests that the order in which these areas are cleared can meaningfully affect difficulty, traversal options, and combat effectiveness. The guidance arrives as the title establishes itself in the market, offering newcomers a roadmap through a system built on escalating enemy levels and unlockable abilities.
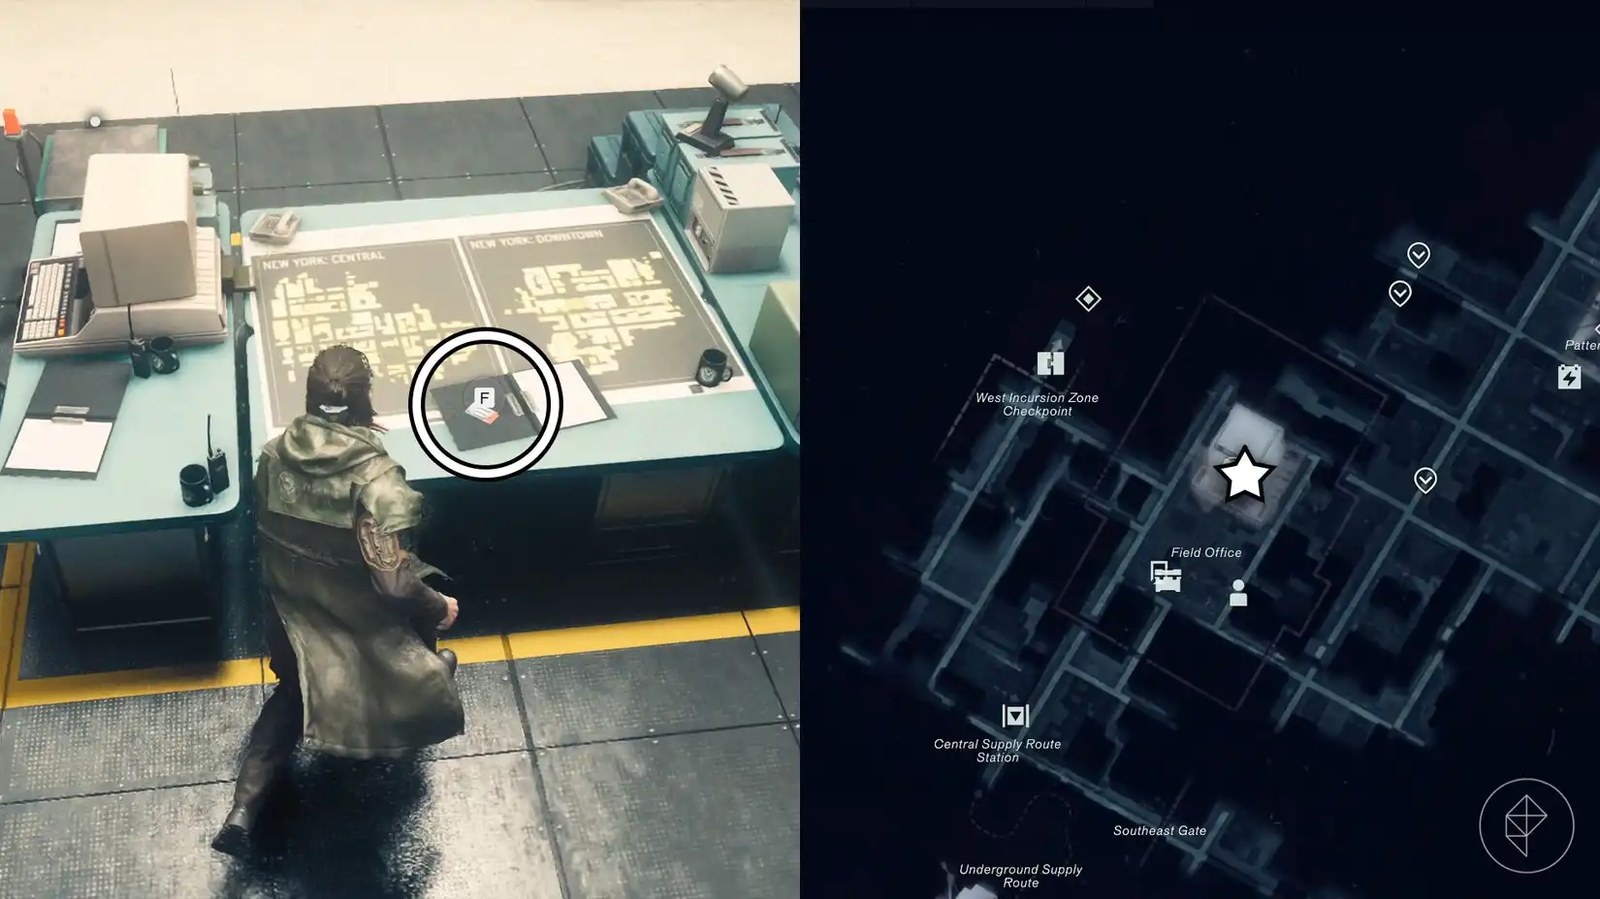
Getting out of Central is not entirely open-ended, however. After speaking with Zoe, players must first locate a level 1 keycard on the center desk inside the Field Office before they are free to venture into any of the surrounding areas. Once that keycard is secured, the four zones become accessible, and the decision of which to prioritize becomes the central puzzle of the opening hours. The zones differ not only in their enemy strength but also in the traversal and combat abilities they reward, with West Incursion Zone and Central both introducing level 2 threats, the Evacuation Zone pushing to level 3, and The Park fielding the toughest opposition.
A Recommended Route Through the Zones
Community guides are converging on a clear progression order: the West Incursion Zone first, followed by the Evacuation Zone, then Central, and finally The Park. The reasoning centers on the abilities each zone unlocks. Clearing the West Incursion Zone grants the Shift traversal ability, which lets players walk up the vertical roads that crisscross the map, alongside a combat option such as Push or Ground Slam. The Evacuation Zone, tackled second, rewards players with Reach, allowing them to launch toward the translucent orbs scattered across the environment — a mobility tool the guides argue is more vital than the Ignite or Inferno combat ability offered by Central. The Park is deliberately saved for last, as its enemies are the strongest and are weak to fire, meaning the burn-focused combat abilities earned in Central pay off heavily in that final area.
There is no wrong answer, but some zones are simply better to go to first. Choosing wisely means matching each area’s enemy strength to your own level while prioritizing the abilities that make exploration and combat feel effortless.
Control Resonant community guidance
The strategic layering is clearly intentional, with enemy difficulty scaling from level 2 in the West Incursion Zone and Central up to level 3 in the Evacuation Zone and peaking in The Park, where the ominous skull marking signals the heaviest resistance. Guides warn that facing enemies far above your own level leaves your weapon feeling toothless while incoming attacks land like a truck, so matching zones to your current level — visible in the Stats & Effects section of the Loadout menu — is essential. The Park’s fire weakness further tips the balance, making the Ignite or Inferno abilities earned in Central a decisive advantage in that final stretch.
Looking Ahead
Following the recommended route also keeps players aligned with the game’s main story, as clearing the Evacuation Zone unlocks progress in the Evacuation Procedures quest and hands over the level 2 security keycard needed for later stages. With traversal abilities like Shift and Reach proving indispensable for navigating the map’s verticality, the zone order not only smooths the difficulty curve but also paces the introduction of the game’s core mechanics. As Control Resonant settles into its launch window, players are encouraged to experiment with the order, but the consensus remains clear: start in the West Incursion Zone, build mobility early, and save The Park for a final, well-prepared assault.



No comments