
Players of The Blood of Dawnwalker now have a definitive guide to the game’s most powerful armor sets, with a fresh breakdown identifying the four best legendary loadouts tailored to all-round, vampirism, witchcraft, and swordmastery builds. The guide, released alongside the game’s growing community of players, explains that while finding every legendary piece requires extensive map exploration, countless quests, and significant in-game wealth, players need not chase every set to build a competitive character. Instead, the four standout sets offer purpose-built advantages, letting players focus their resources on the loadout that matches their preferred play style.
The core insight driving the guide is that legendary armor consistently outperforms lower-tier equipment in raw stats, which is why the recommendations are drawn exclusively from the top tier of gear. Beyond raw numbers, the guide emphasizes a crucial mechanical detail: armor does not level up automatically, meaning players must pay an armourer to upgrade their chosen set. Because upgrades are expensive, the strategy is to commit to one or two sets rather than spreading resources thin. For those wearing medium or heavy armor, the guide also flags the importance of upgrading the Second Skin I and Second Skin II perks in the swordmastery skill tree, warning that neglecting them triggers stat penalties while wearing heavier armor.
The Arbiter Armor: The All-Round Powerhouse
Leading the recommendations is the Arbiter Armor, a heavy set that the guide describes as offering near-total protection. The chestpiece, trousers, boots, and bracers collectively deliver a very high base armor rating, an increase to maximum health, and improved health regeneration across both day and night. The set also provides extra activation charge restoration, alongside buffs to both witchcraft and vampirism, making it a versatile choice that requires no specific build commitment.
The great benefit to such an all-round legendary armor set is that you won’t need to upgrade two different sets of armor, which saves a lot of time and money. On top of that, the Arbiter Armor set doesn’t require a specific play style.
Guide author
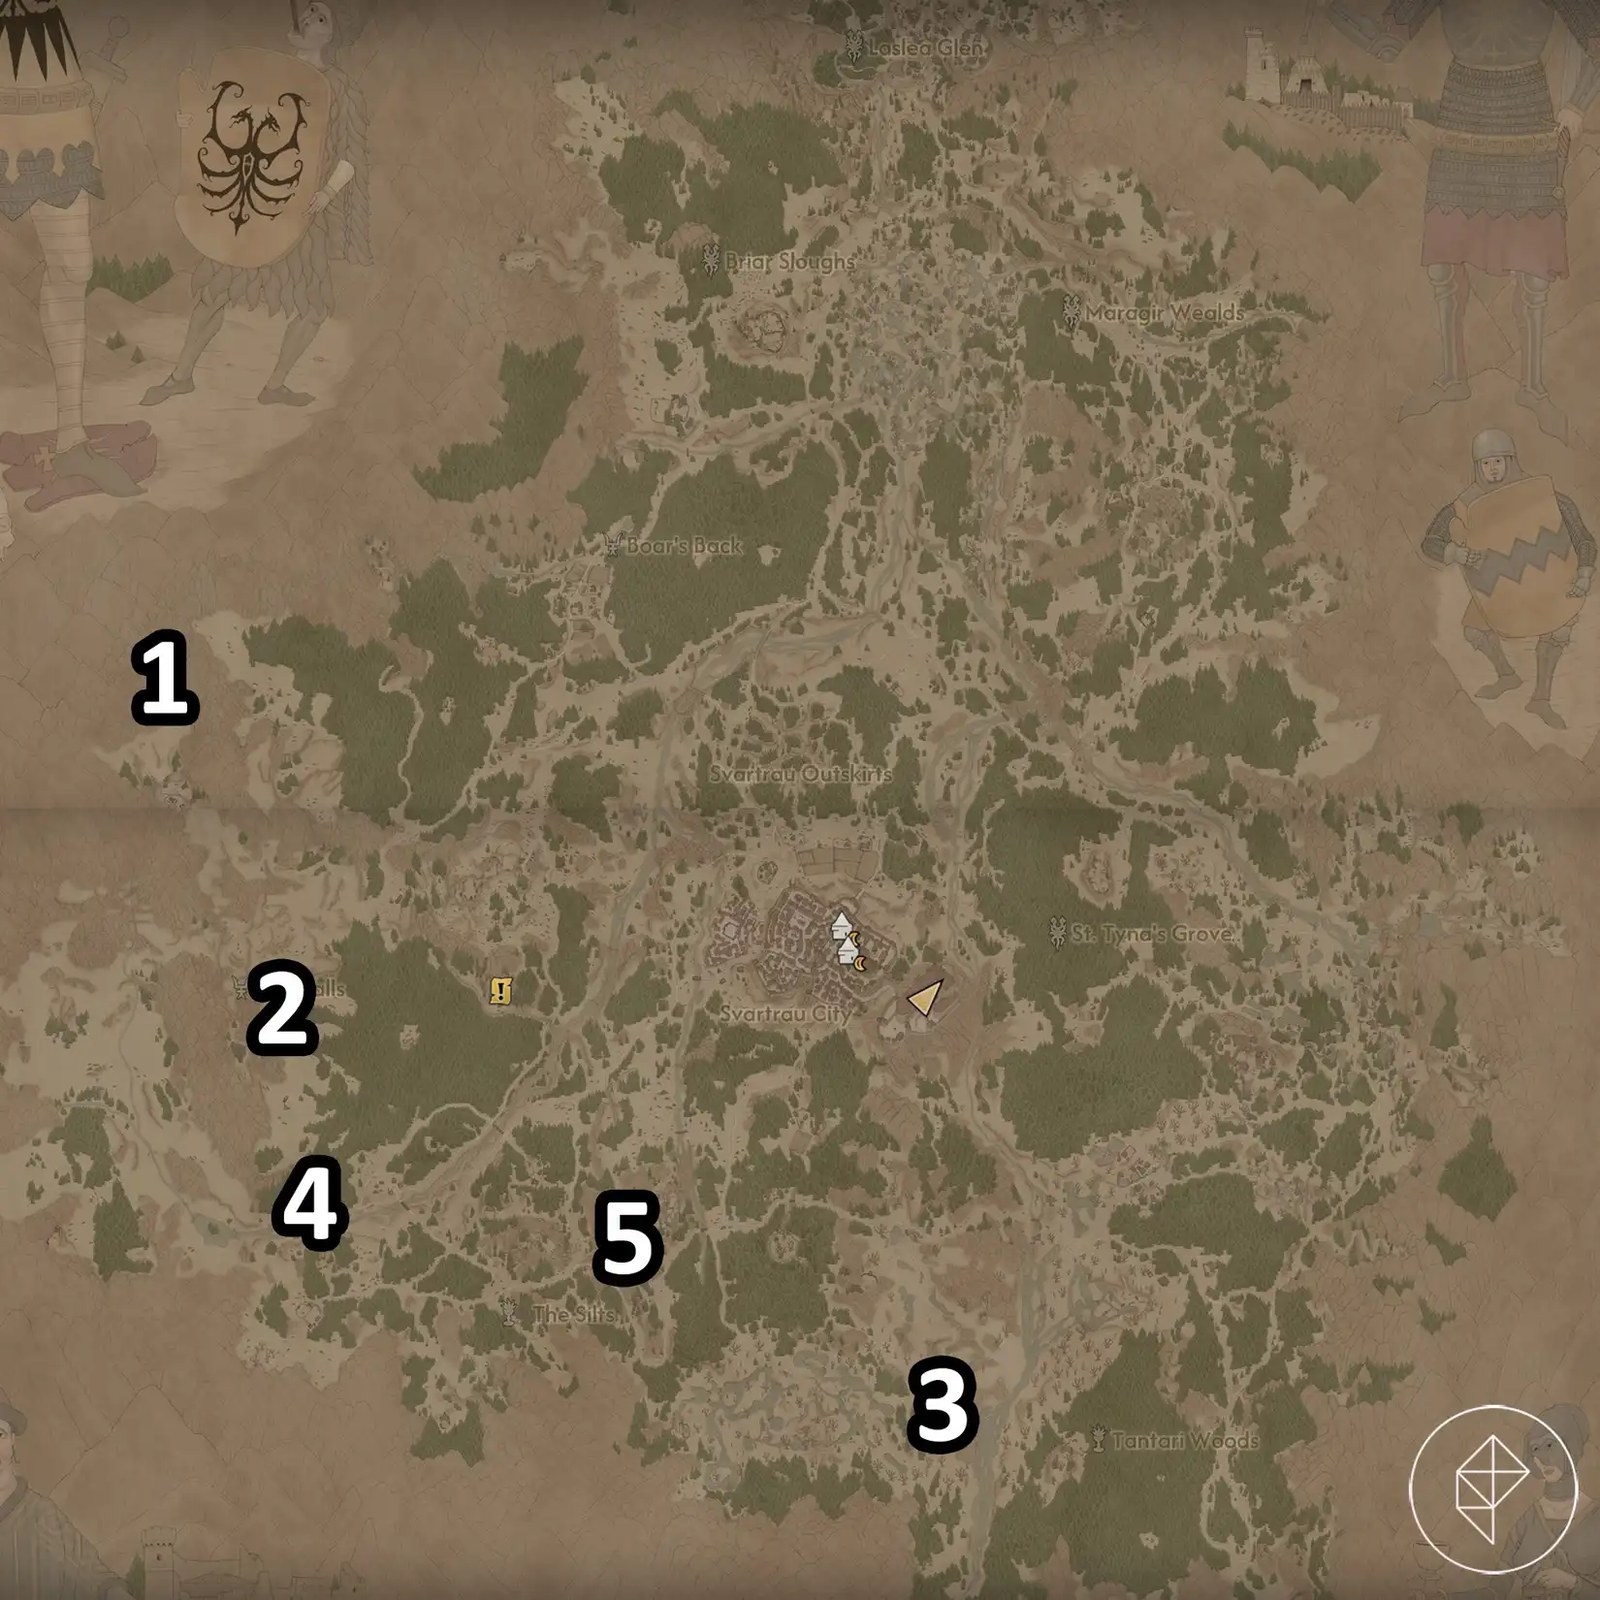
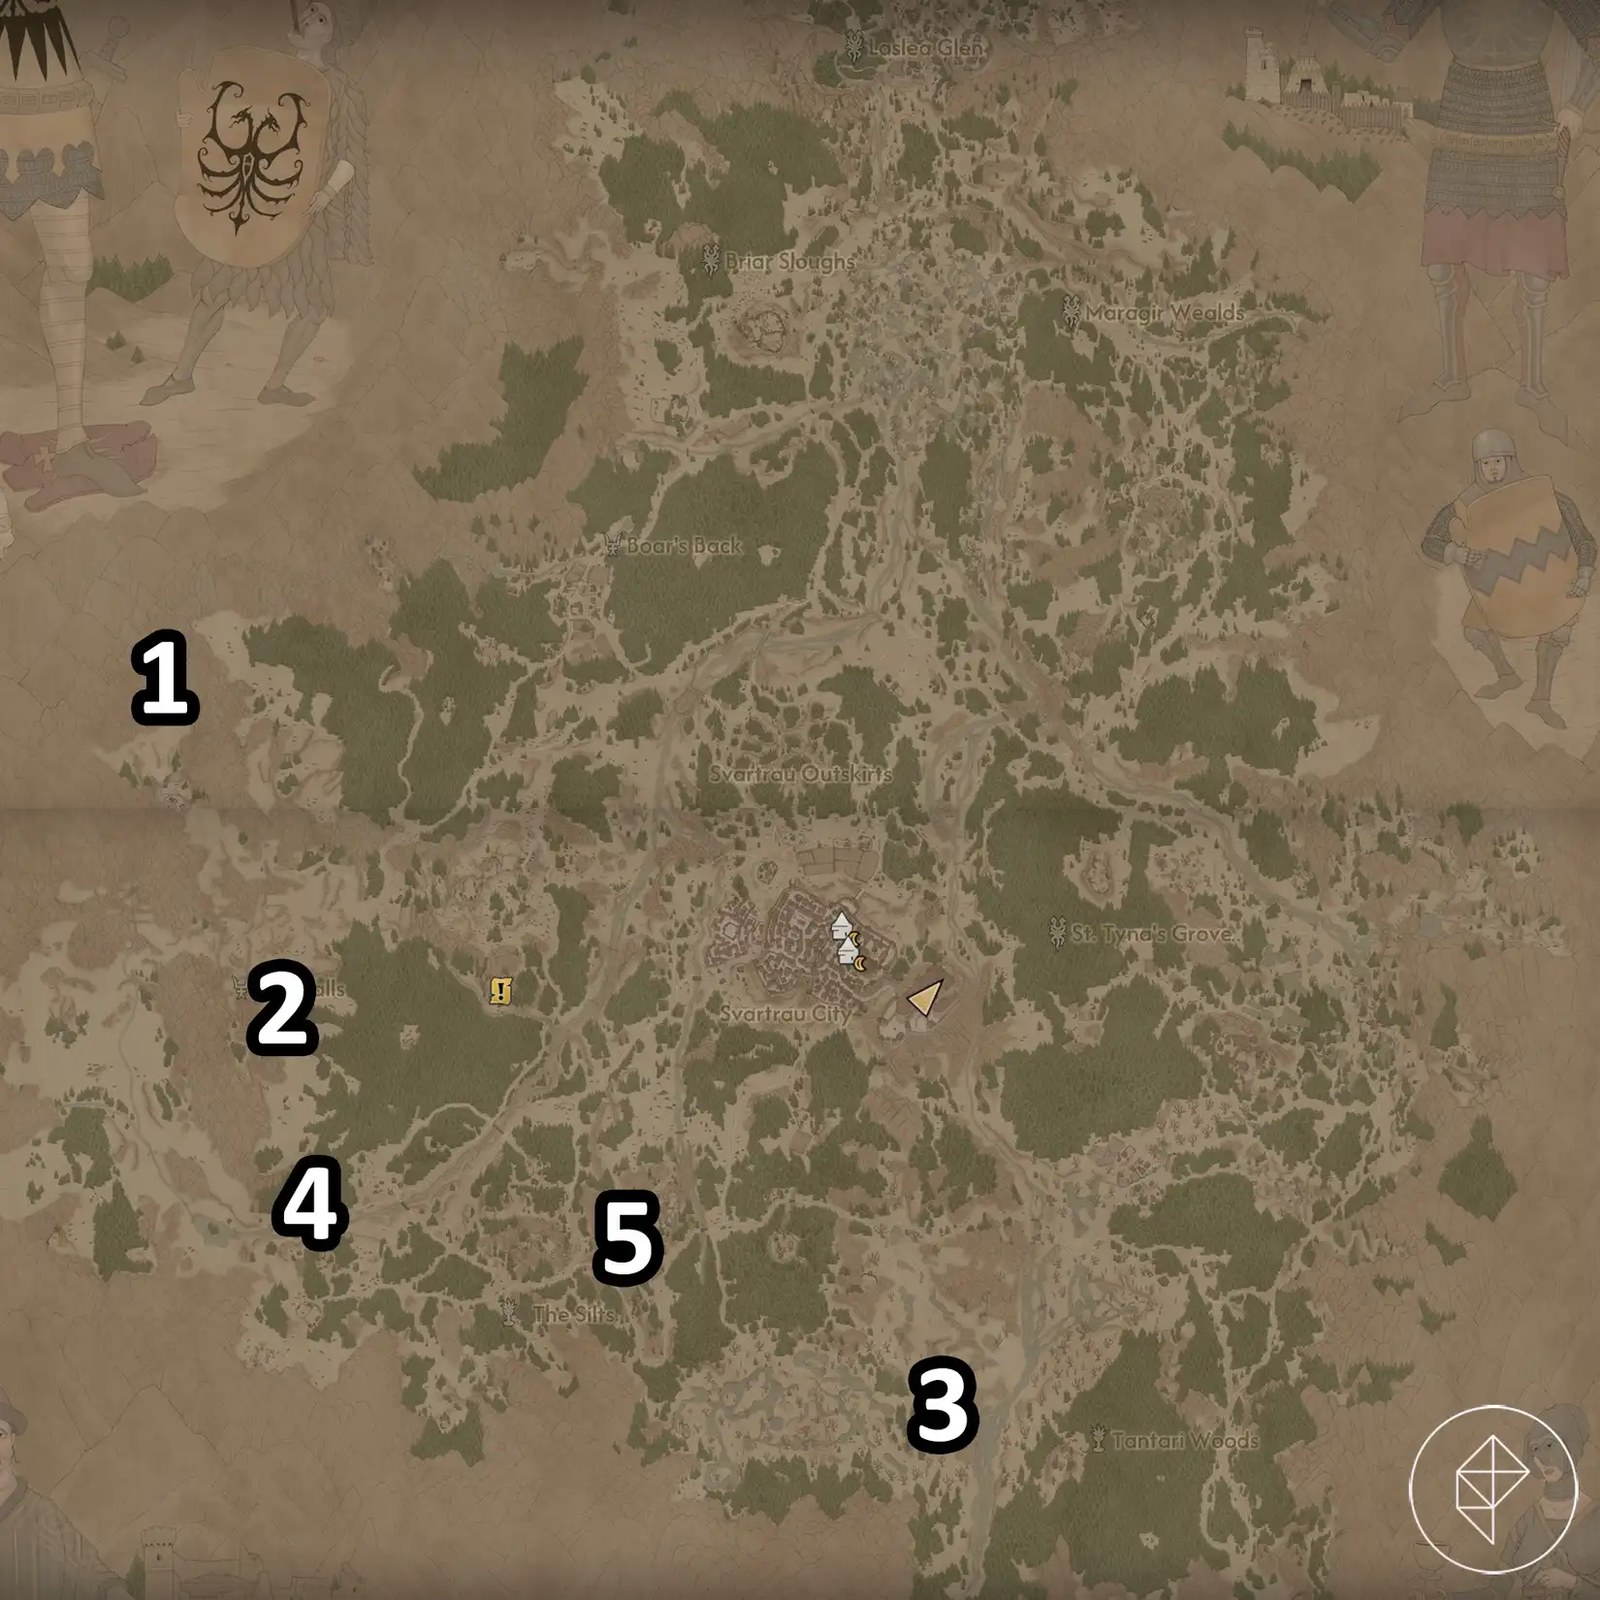
What makes the Arbiter set particularly appealing is that all four components are rewarded by a single quest, sparing players from hunting armor pieces scattered across the map. To obtain the full set, players must complete the quest “A Bulwark Against Darkness,” which becomes available upon reaching infamy level 4 via the court menu. The guide promises a detailed walkthrough covering where to locate the Uriashi blacksmith and which materials are needed to craft the legendary set.
Looking Ahead
Alongside the Arbiter set, the guide highlights three additional loadouts for players who prefer specialization. Isbrand’s Armor serves as the premier vampire build, with greaves that boost claw damage and critical strikes, while Vrakhir’s Treads and the Vrakhiric Bracers round out the vampirism-focused kit. For witchcraft specialists, the Ancient Armor set delivers the highest witchcraft ability damage, though the guide cautions that the Runic Enchantment chestpiece offers zero armor and should be paired with sturdier pieces. Finally, swordmastery players are pointed toward Pieter’s Garb for its critical hit bonuses, or Bakir’s Armour if they prefer a stamina-focused approach, with the Mercenary Armor pieces completing the melee build.
Each of these sets comes with its own acquisition path, from looting treasure chests and defeating specific enemies to purchasing pieces from armourers in Svartrau City and Tantari. As the player base continues to explore the game’s world, this structured breakdown is expected to help newcomers and veterans alike forge the most effective characters without burning through resources chasing every legendary item.






Comments
Be the first to comment.